Learning to Fly the Alps with Ferdi Vogel
Ferdinand Vogel explains how to use ‘triangle theory’ to find thermals in the mountains
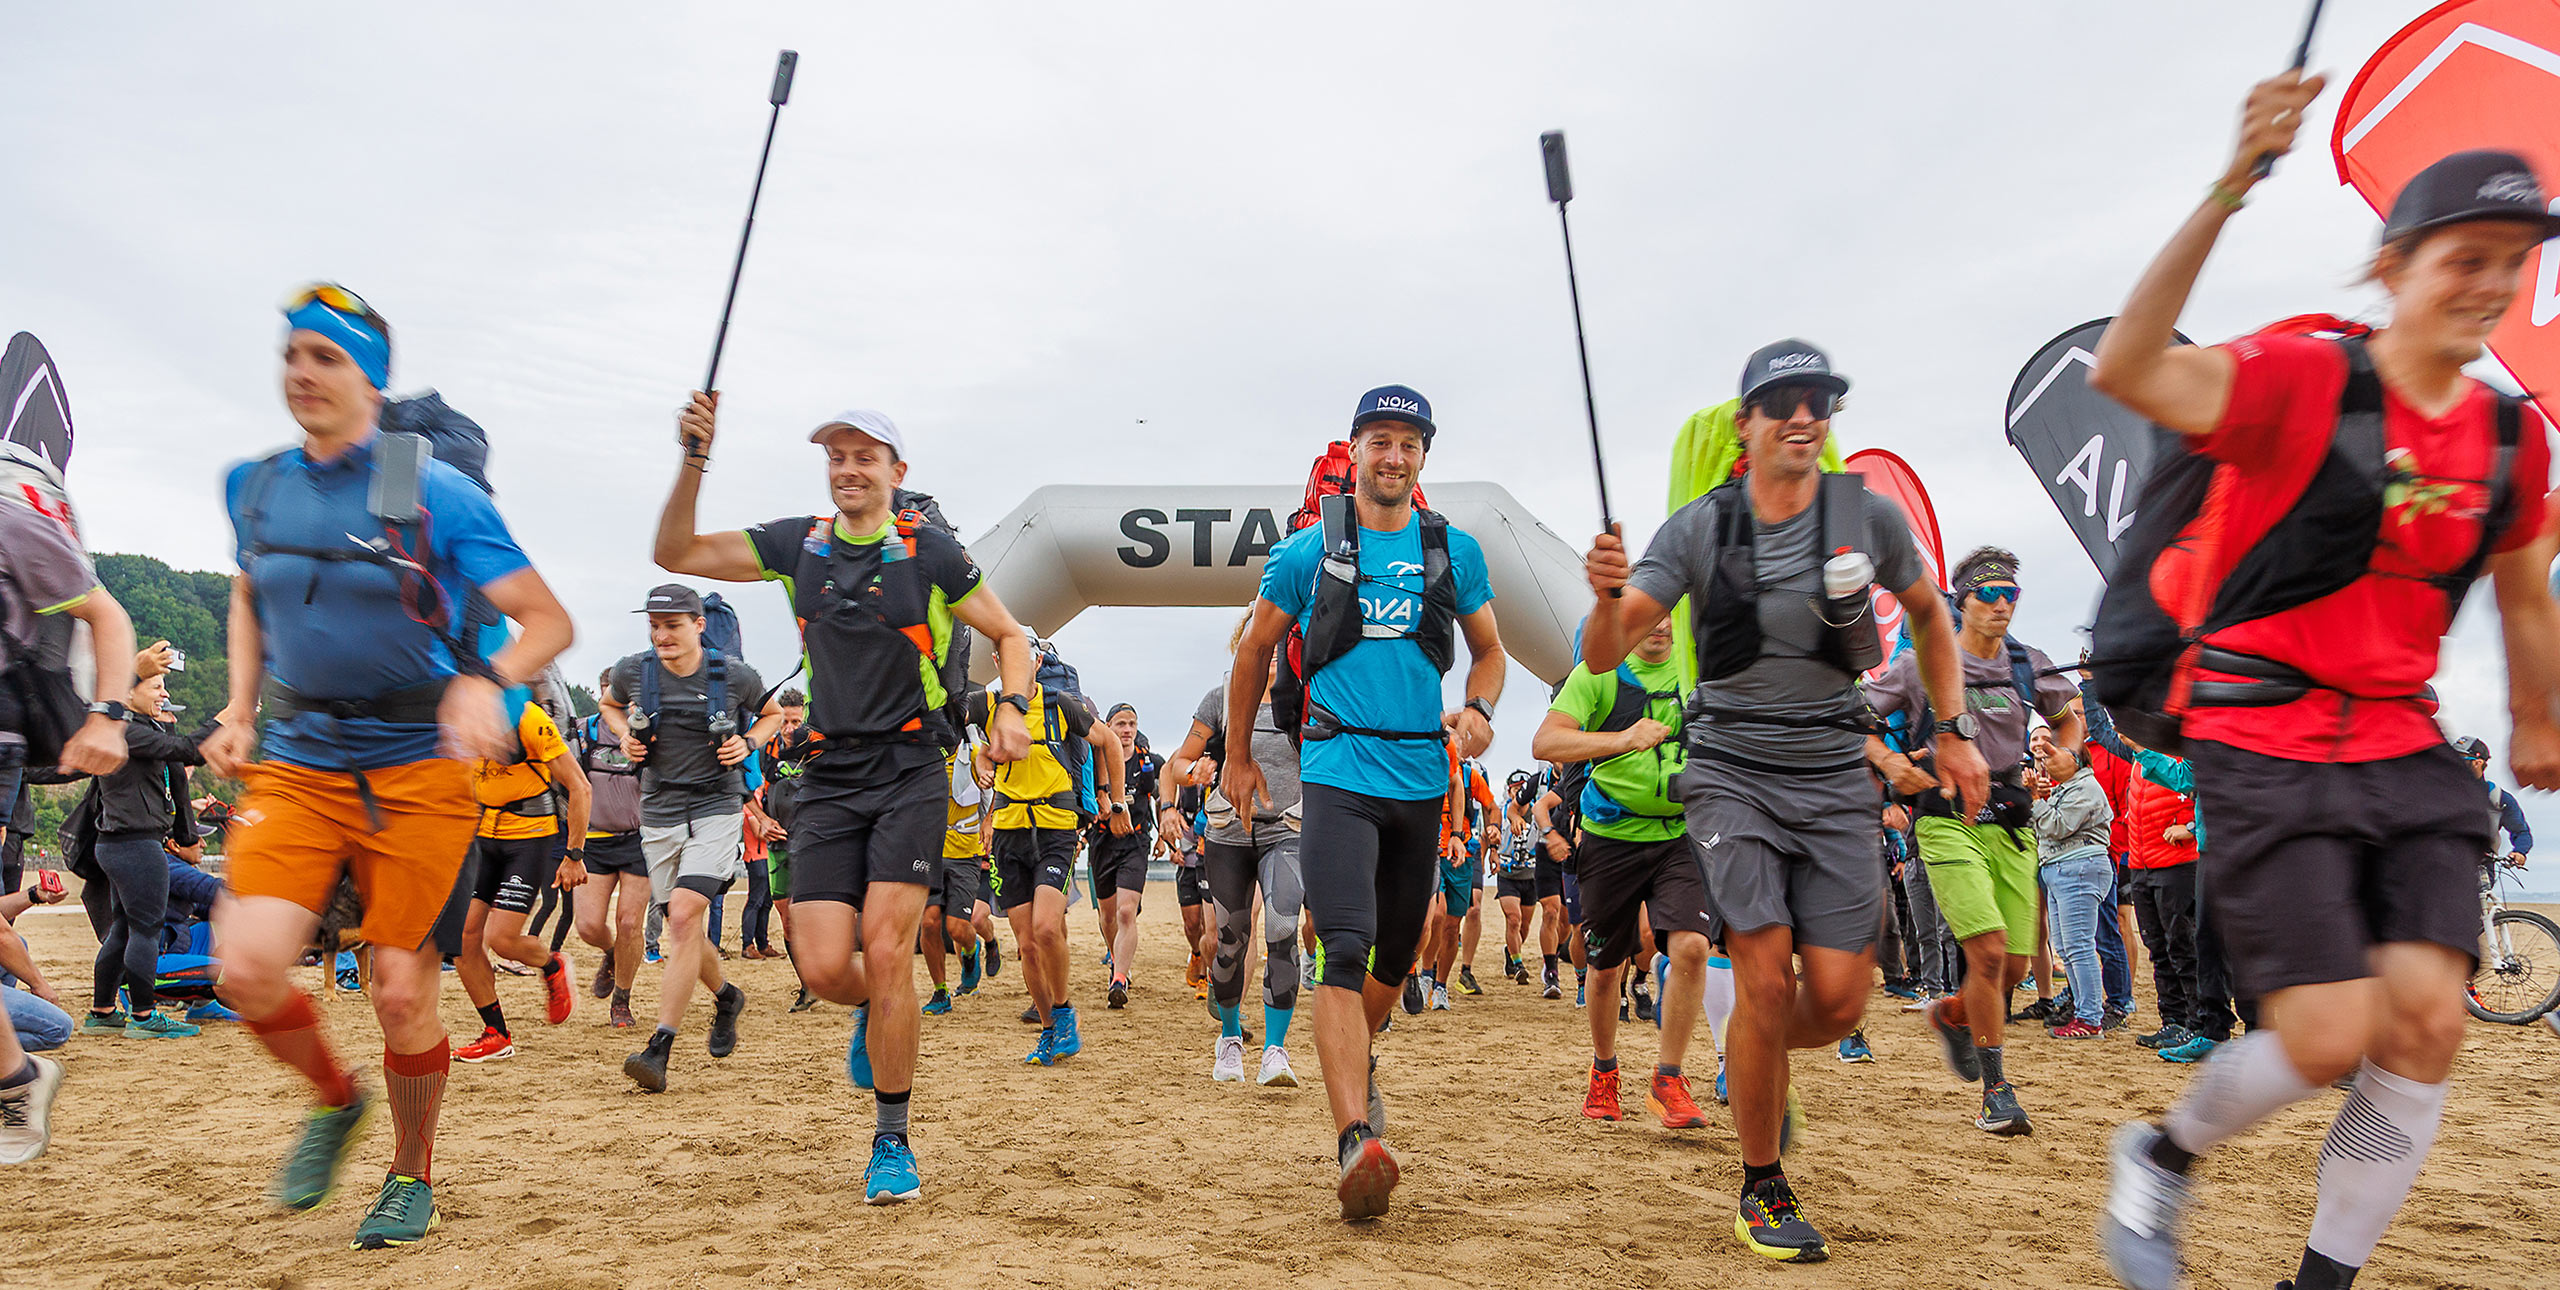
9 March, 2026, by Ferdinand VogelAn experienced Alpine XC pilot flies purposefully towards the next thermal. They don’t appear to spend any time flying circles or searching for the lift, but only a few minutes later they leave the thermal at cloudbase – already lining up the next powerhouse climb. Is that luck, do they have magic thermal goggles? Or what do they know?
Starting the day
Let’s begin the day with an observation while lying in a tent early in the morning. Your eyes rest on the condensation as it drips down the tent fabric. Which path do the drops take as they fall?
They collect in folds that protrude inward and drip further down along these channels. On smooth surfaces they always flow straight down, seeking the path of least resistance. Where necessary, they merge and adjust their flow paths accordingly. Surface tension and surface friction also play their part.
To apply these observations to our flying, we must turn our view upside down. Now the thermals drip upwards, and we can better imagine how thermals move along slopes.
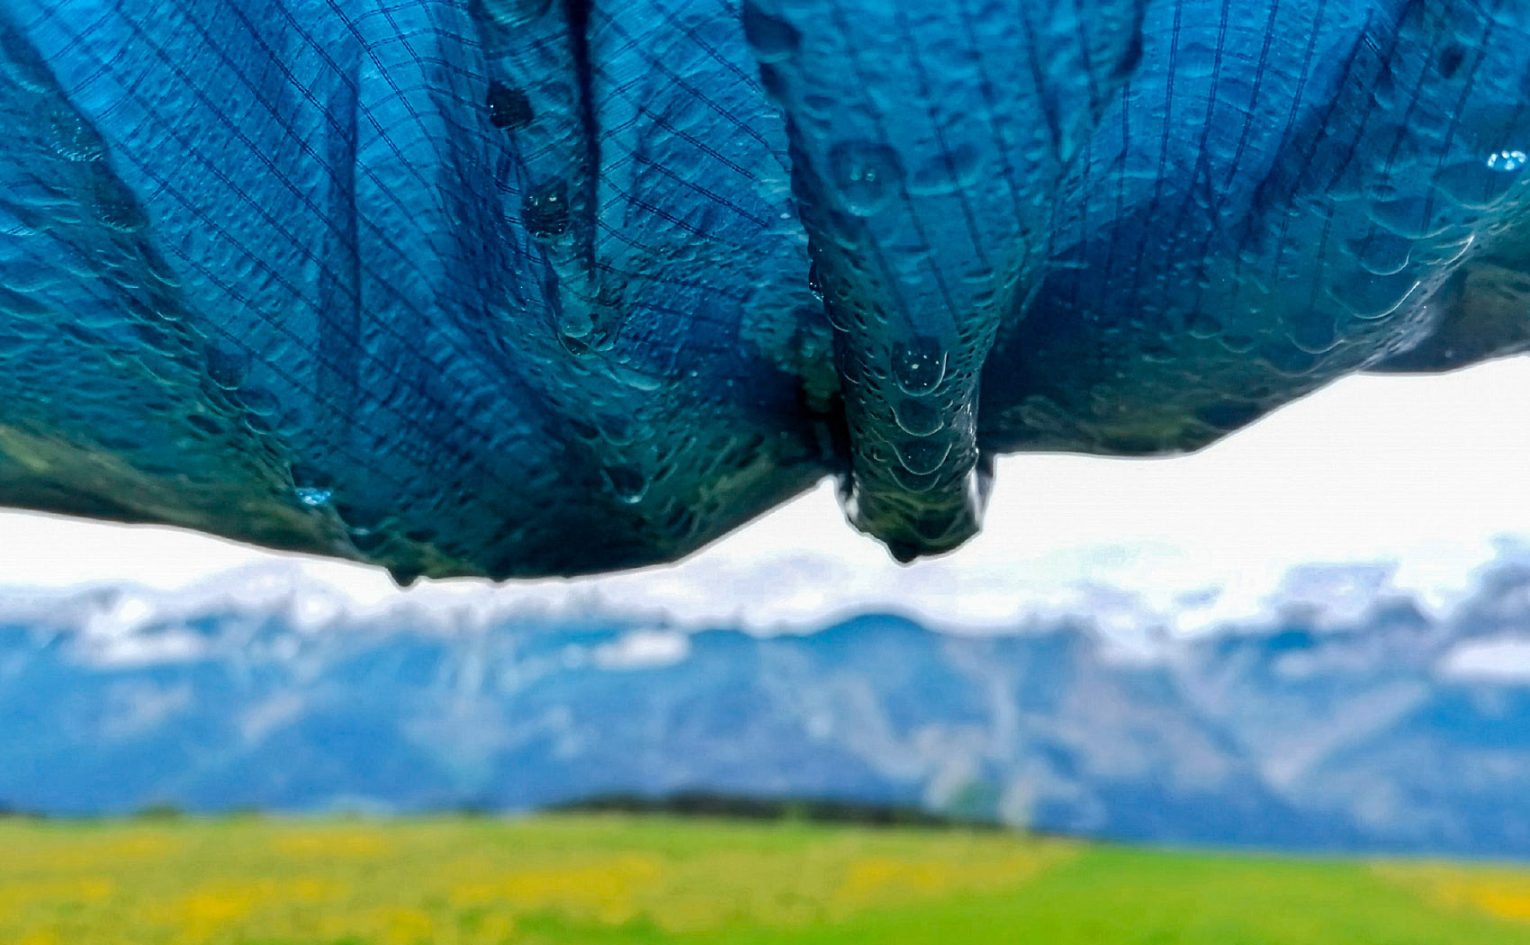
Some people say it’s good to imagine honey over the terrain, but I prefer to imagine how water droplets behave.
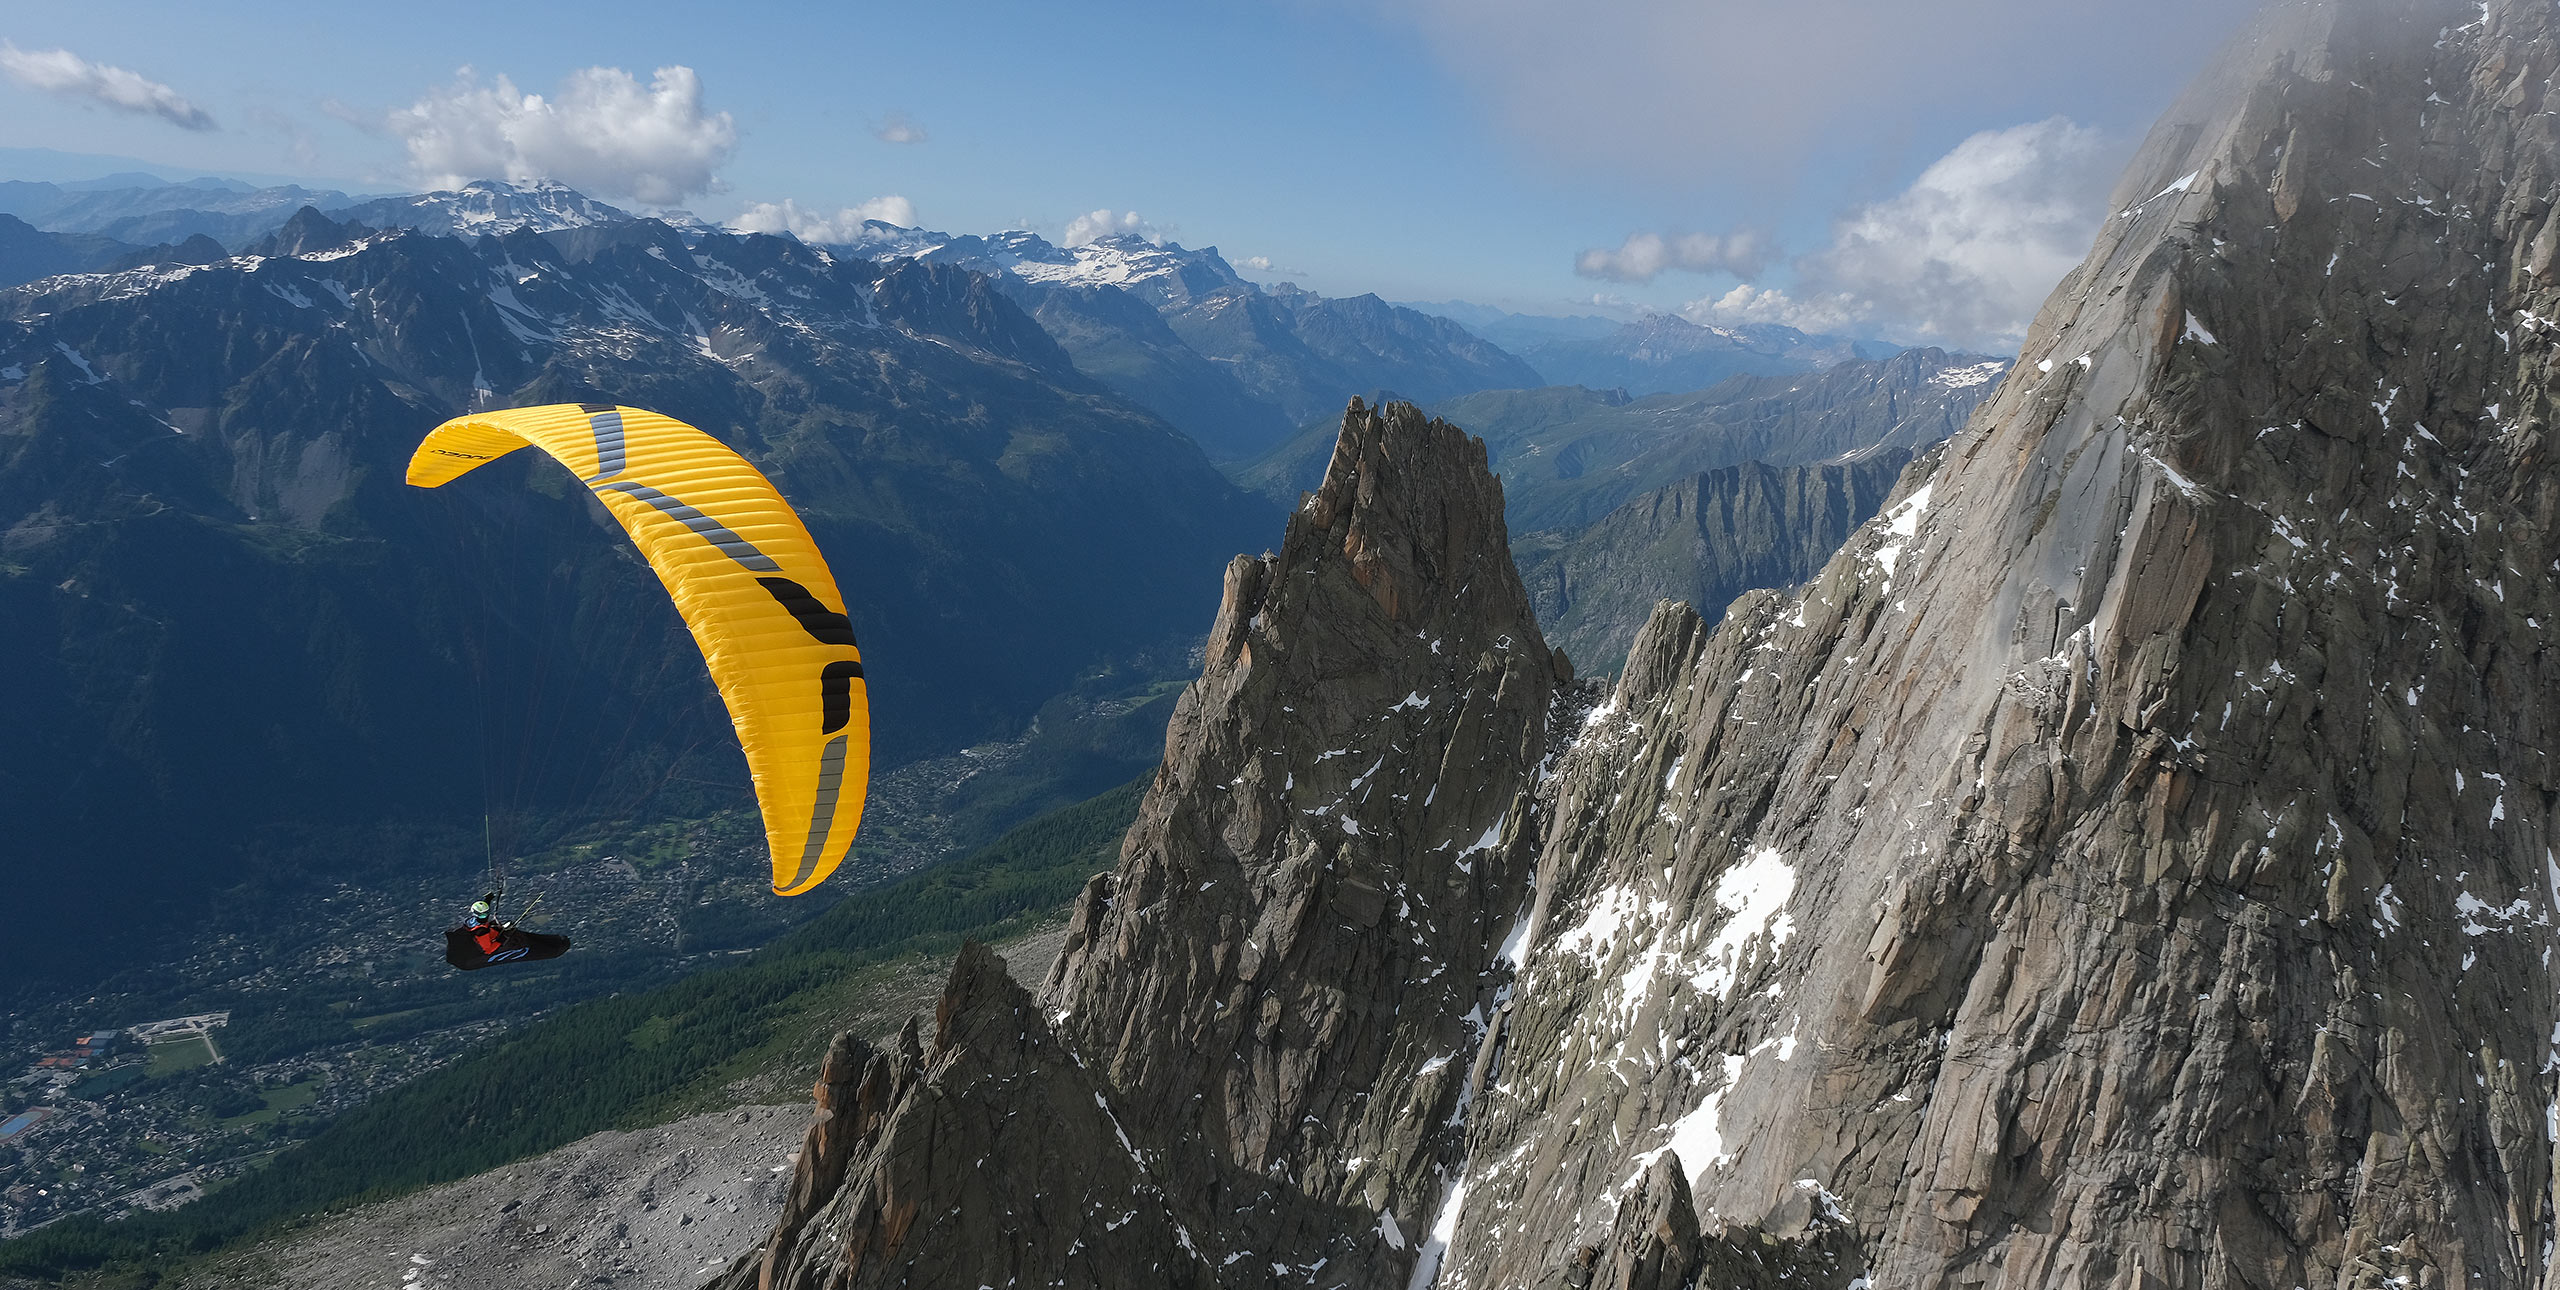
This is a quite an important thing to understand. Imagine we’re looking at the south-facing slopes of the Pinzgau valley, the wind is blowing straight on the mountain from the south, the sun is also from the south. Which is the best place for thermals, more at the back between the ridges or out in front on the ridge itself?
At the back the dynamic wind may be nice but the thermals might be getting blown out, whereas out front the thermals are strong. Think of those water droplets on the tent. Think about where the water droplet falls. Follow “the drip” until there’s a peak. When the angle is too much the thermal will just leave the ground. And this is what I’m looking for.
Hiking up
We are now on the way to launch and analyse the ground for thermal sources. During the hike up we feel differences in temperature and humidity. Which part of the slope is a good source for my thermal?
For thermals to form, we need temperature differences. Put simply, surfaces where we would most like to take a short break and enjoy the warm ground are usually the right thermal sources.
Thermodynamics helps us examine this more precisely. To understand how much energy can be transferred to the air in the form of heat, we consider the angle of solar radiation (90° is ideal), absorption of solar energy (the darker, the better), heat capacity (if an object can store little energy, it warms up faster than its surroundings), exposure time (if air flows along thermal sources for longer, it is heated for longer), and thermal conductivity (the more surface area exposed to the air, the better).
For this reason, a rock face in summer with little surface area, a poor angle to the sun, and high heat capacity is less promising than a dry grain field that can create lots of warm air between the stalks.
Hotplate theory
Finally airborne, we combine what we have learned and move closer to wearing our thermal goggles. Similar, connected ground surfaces are mentally grouped together into a single hotplate. On each hotplate sits a pot of water. Depending on the thermal potential, we turn each hotplate up to a different level.
Small rising bubbles form in the water. Depending on the heat supplied, they rise faster or slower and are larger or smaller. Some bubbles merge on their way up; others are blown away by the wind.
Large-scale wind initially produces no turbulence. It flows gently over the Alps like a huge river, rising slowly in places and sinking again behind mountain ranges. Below this flows the valley wind, wild like a mountain stream. It intensifies in narrow valleys and washes over obstacles with strong turbulence. In this moving mixture, we imagine our air bubbles rising.
Because of surface tension, our thermal initially sticks to the ground and rises close along the slope. Only when it reaches a trigger edge does it leave the surface and become more exposed to the wind.
Now thermal clouds can help us. If we draw a line between the trigger edge and the cloud, we know the path of the thermal and can find it again more quickly.
And now we too begin to find thermals more purposefully – climbing upward for a long and impressive flight.
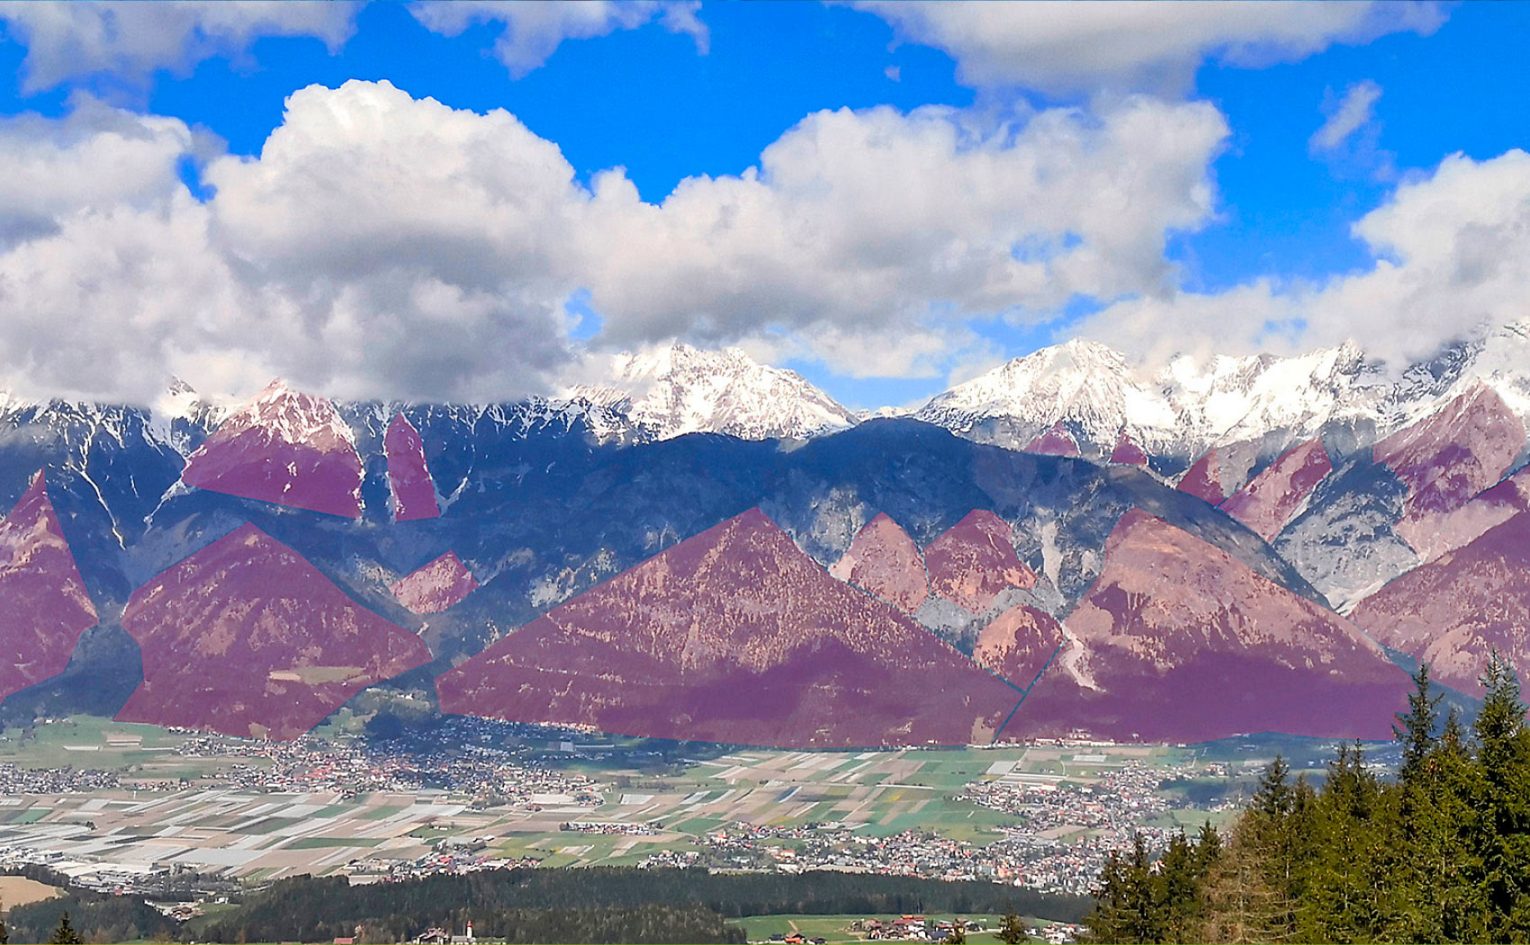
The triangle theory
One part of the “thermal goggles” concept is the triangle theory. This makes it easier to read terrain and identify good thermal trigger points.
When searching for mountain thermals, recognising trigger edges is a key factor for success. Above the trigger point, the thermal can detach from the slope and becomes much more usable for paraglider and hang-glider pilots. Below it, the warm air cushion clings to the slope and often rises out of reach of the wing between the treetops – except where a triangle forms below a trigger point. (Remember: “Always arrive above the trigger point – otherwise you’re in for punishment soaring!”)
Commonly taught trigger edges are sun/shade boundaries, the snow line, or forest edges. These are usually horizontal lines on the slope. Above them, they often offer positive air over a wide area and can allow a good flight line. However, along such lines you can only search for a thermal core with stronger lift – you cannot target it precisely.
The triangle theory helps you target your search. To identify a likely trigger spot, triangles are mentally placed into the topography – meaning you look purely at the terrain structure. They do not need to be perfect triangles. It helps to imagine a simulation breaking the mountain in front of you into individual flat polygons – initially at a very coarse resolution, with large surfaces. This makes it easier to find clear triangles. Only triangles with their tip pointing upward are relevant. The tip is the sought-after thermal trigger point.
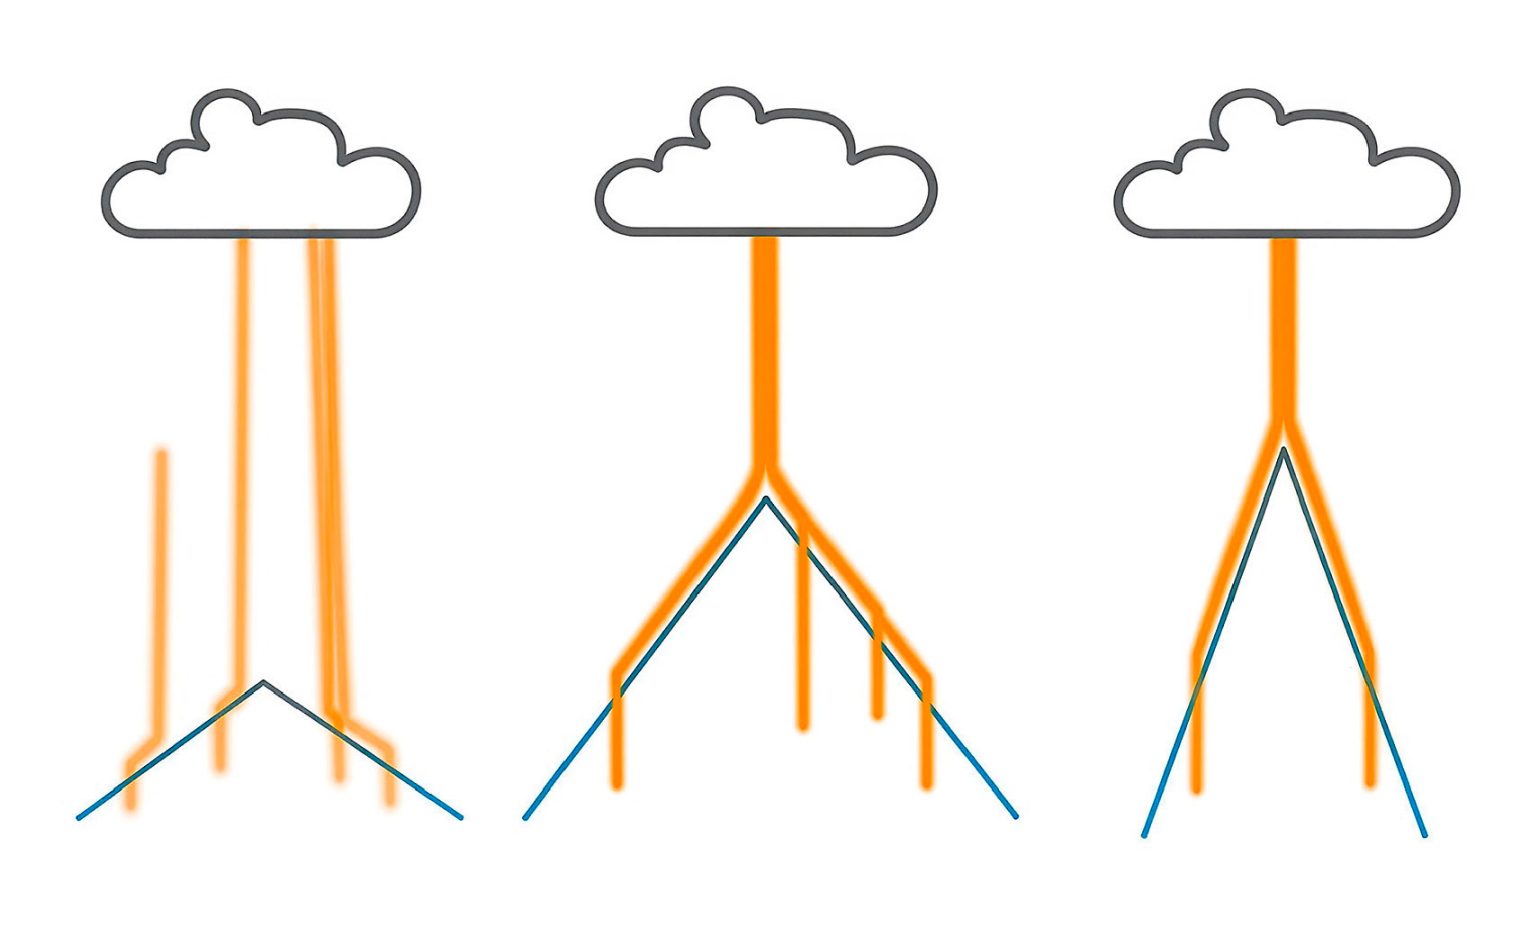
The sharper the triangle narrows toward the top, the more clearly the thermal will break away at the tip. If there is a lot of slope below the trigger point, the rising air can be fed with heat for longer. The interaction time is greater.
If the angle at the upper tip is very wide, the thermal may also detach slightly to one side. The triangle is too flat, and precise targeting becomes more difficult.
Equilateral triangles are ideal. They provide a large surface where the air can heat up, and the edges are steep enough that the thermal actually sticks to the slope instead of detaching too early.
The edges of the triangles should be well defined. Thermals generated from the triangle surface rise vertically while remaining attached to the slope until they reach an edge, then follow it toward the tip.
The angle to the sun and the ground surface give clues about the thermal quality of a triangle. Wind also has a major influence and can shift the trigger edge. Many additional theories addressing these components can be combined with triangle theory.
Even when you get low, look out for little triangles below. It may be that you have more options than simply gliding to the next mountain because a thermal is forming below and you can fly out and find it. Of course, you have to look at the angle to the sun and the ground and see if it’s trees, grass or ice, but you’ll find it much easier to understand where to look for thermals.
When I’m on XC, I’m always looking for three or four possibilities for thermals on my route. If the first one does not work, then I try to arrive at the second one above the trigger point. If you get too low you have to soar and it’s often not easy to climb out again. If you have at least three or four thermal points in front of you which are reachable, then you have a good target and this is a nice route.
LEARNING TO USE YOUR SPEEDBAR
Getting to know how to use your speedbar is important because it helps you fly more efficiently (and therefore cover ground more quickly). But sometimes it’s hard, and you need to build experience.
What makes a big difference is how fast or slow you push the speedbar. For example, when you go on glide, the efficient way is to push the speedbar really slowly. In competition we regularly see someone pushing bar really hard – like straight to full speed. And someone next to that pilot is doing it slowly. Both will have the same speed, but the one who did it fast will be one glider below the one who did it slowly. And the one who did it slowly is a little bit behind, which is the best position to be in as now they have someone in front who’s a bit lower and they can see everything.
Finally, I often hear people saying they were on full bar but actually not the last few centimetres – but these are the most important. The first centimetres when you push the speedbar don’t change that much, but the last part changes a lot. The effect of applying speed is not linear. When you see the pulley is in the halfway position then it is around one-third of the speed range. So, it’s important you set up your speedbar properly to have the full range.
Ferdi Vogel is CEO of Nova, race director of the Red Bull X-Alps, a DHV instructor and former German XC champion. Find him at instagram.com/ferdinand.bird and ferdinand-vogel.de
This article was first published in Cross Country Issue 264