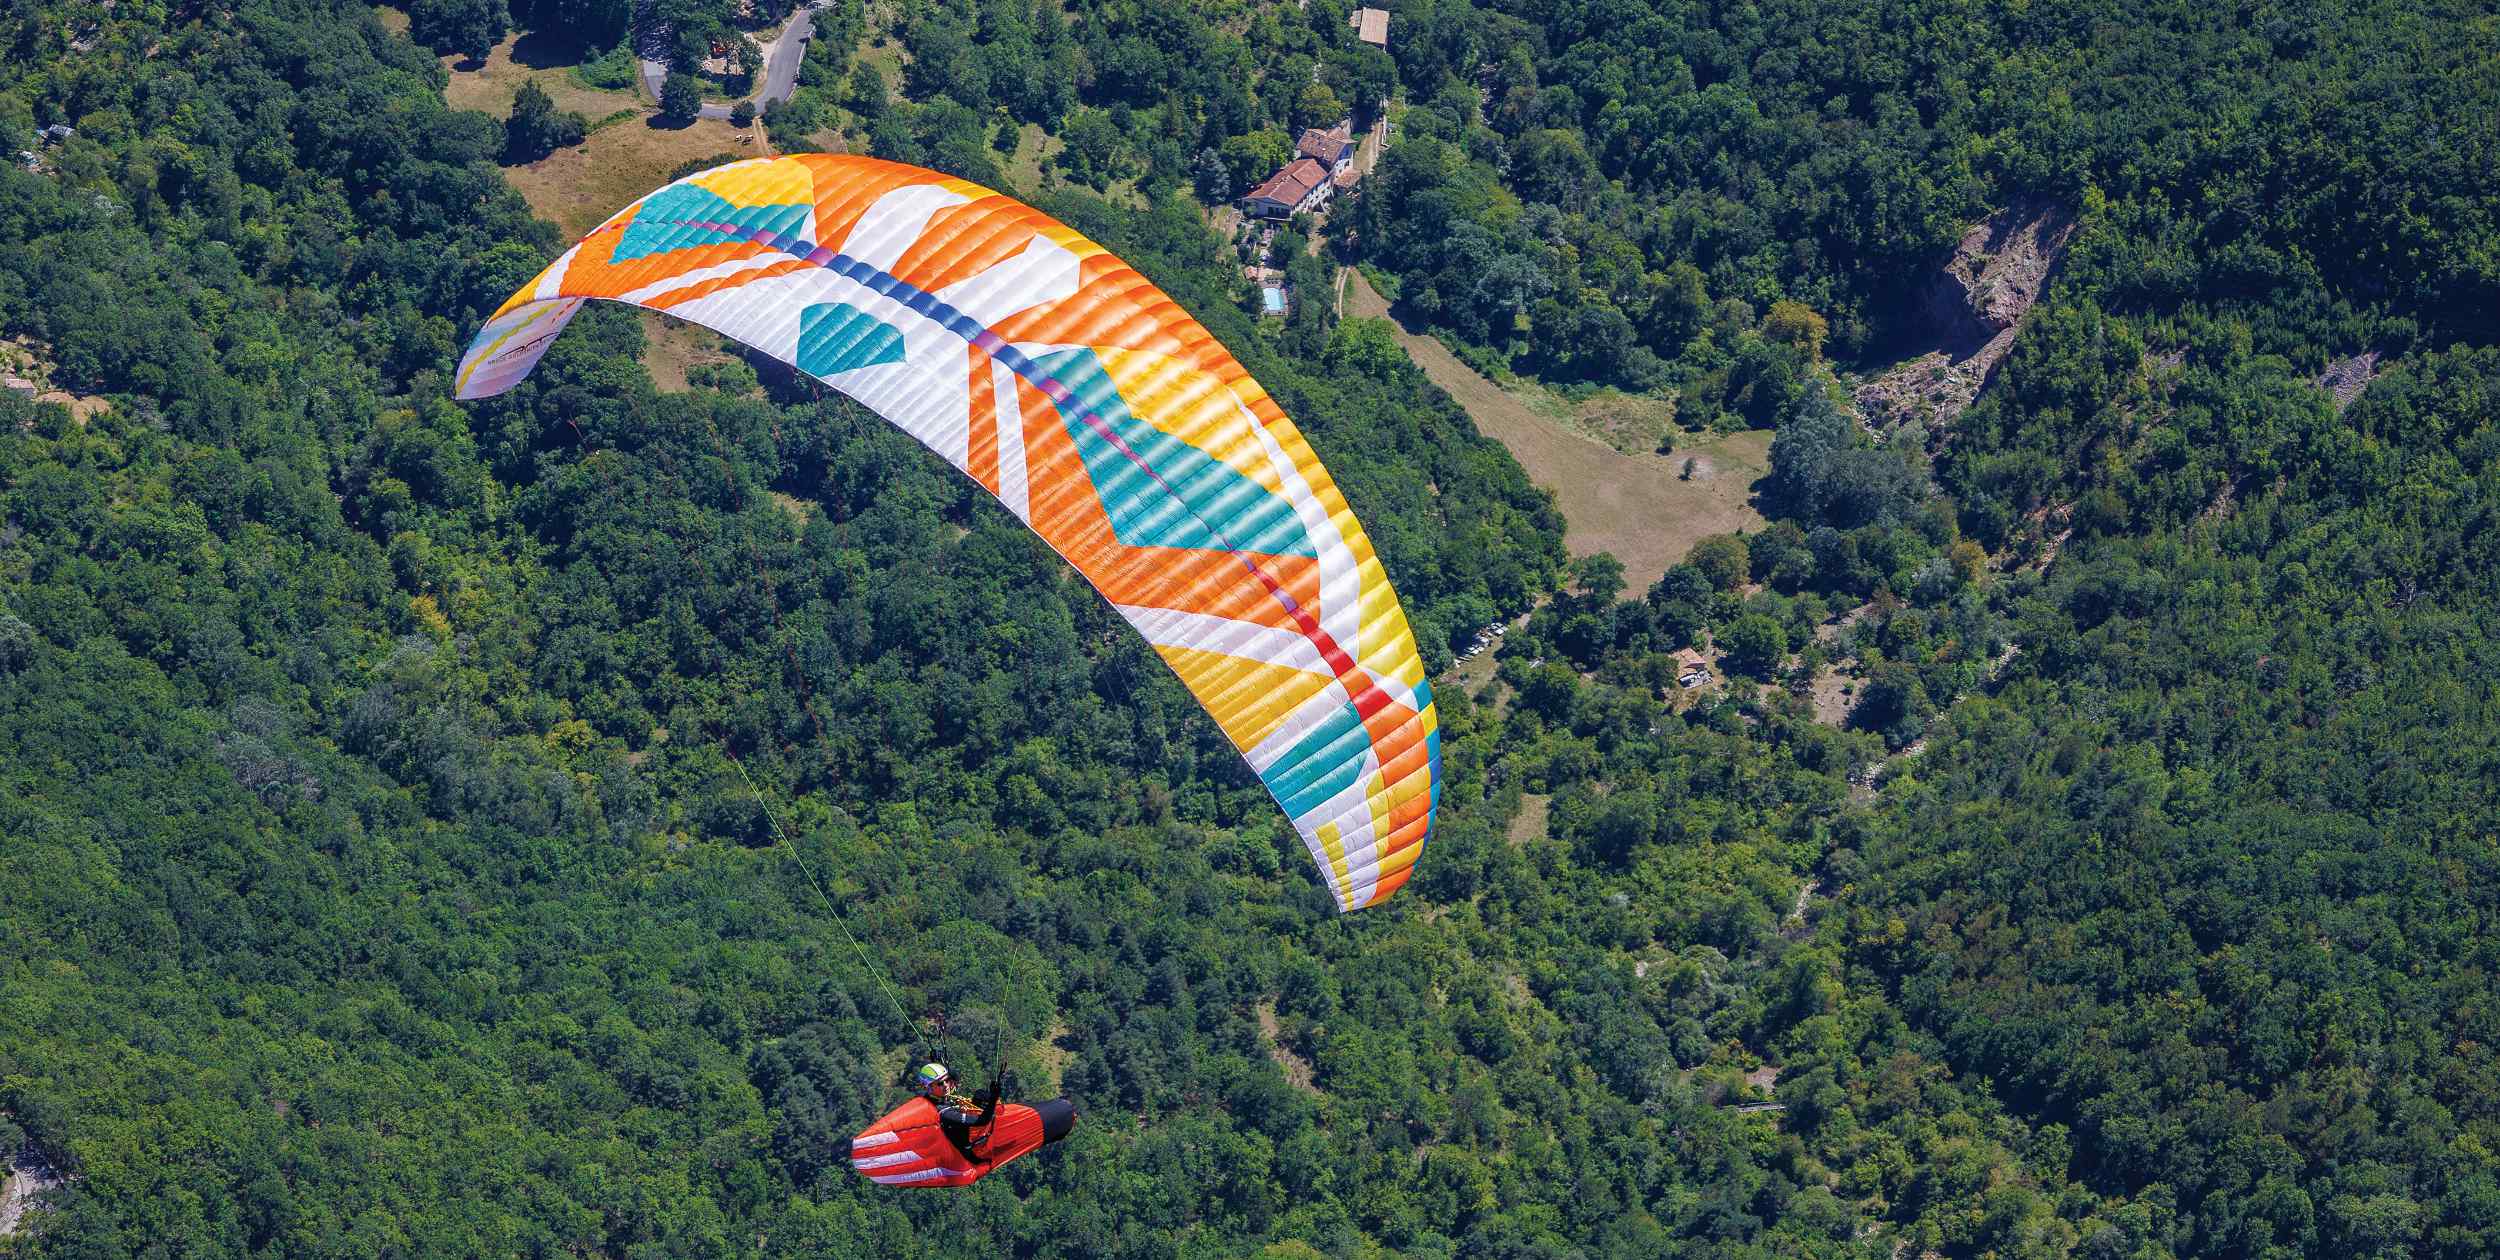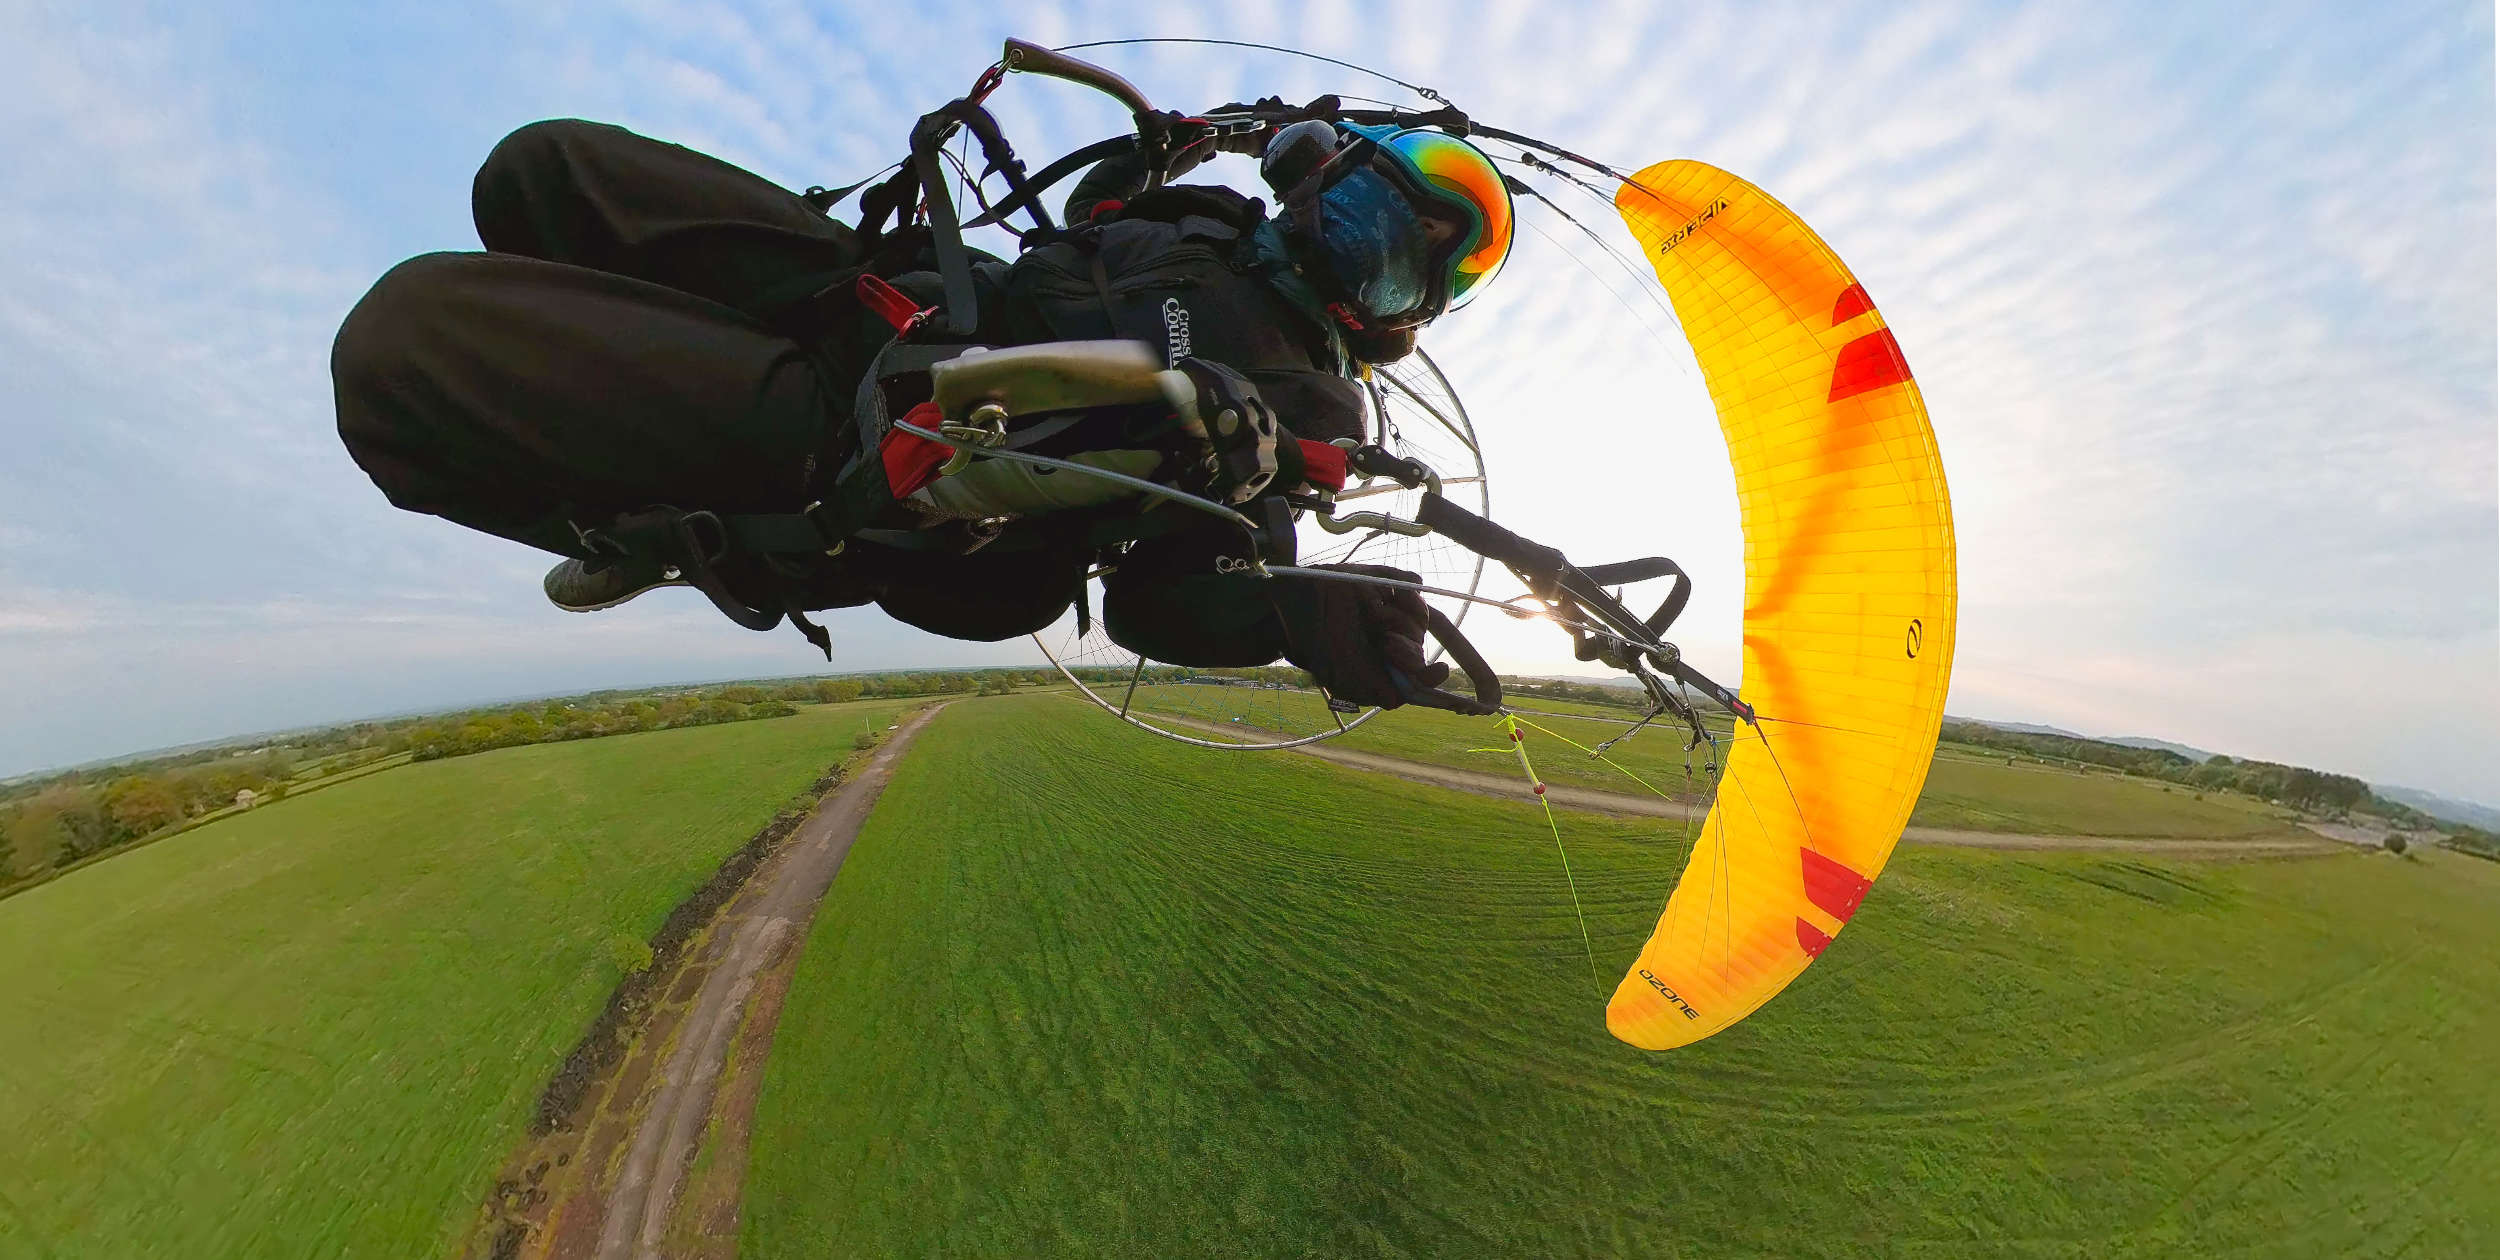
This new advanced paramotor wing with winglets is efficient, joyous to fly, and an ideal single wing solution for PPG and free flying. Lawrie Noctor spent a month testing it out to see if this viper bites.
Since the original Viper was released in 2005, this series has enjoyed a reputation for speed and efficiency. And when the Viper 3 was released in 2015, it included significant technological improvements brought over from the paragliding world including the sharknose profile, optimised three-line layout and plastic-reinforced leading edge.
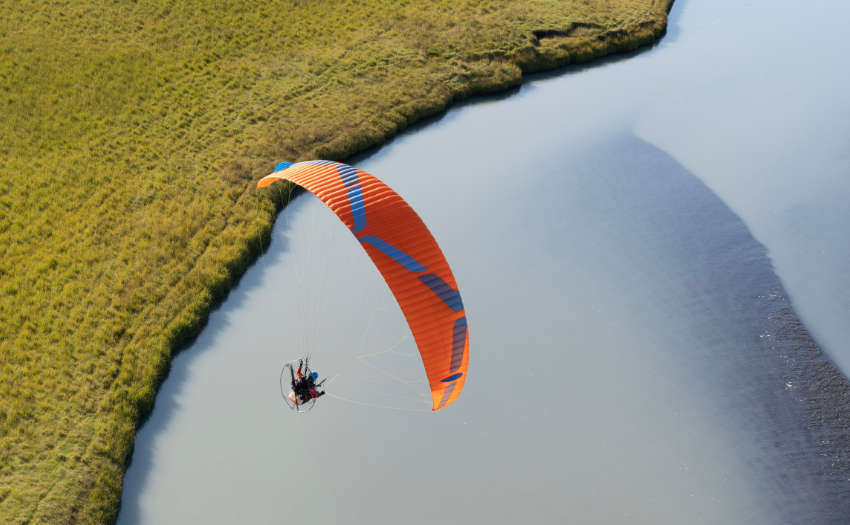
I can remember flying the Viper 3 and thinking how crazy efficient it was – more like a paragliding wing than a paramotoring wing. I was so caught out by its glide that I almost flew into a wall at the end of the landing field. Since the Viper 3 I’ve not been able to fly further developments in the series, so I was keen to see what improvements the Viper XC had brought.
For testing purposes, I flew the 18m Viper XC with the Mac Fly 185, a standard cage and three blade prop. My all-up weight with fuel was 111kg and the risers were the PK variant. All speed testing was done at 111kg, with a wing loading of 6.16kg/m².
Construction
I was glad to see that the Viper uses mainly ‘standard’ weight materials. The top surface is Dominico 30D and the lower surface is Dominico N20D. I was further pleased to see that the lower line galleries were using the sheathed Edelrid 7343 lines with unsheathed Edelrid 8001 lines higher up. I think this is the best compromise for both performance and everyday ease of use.
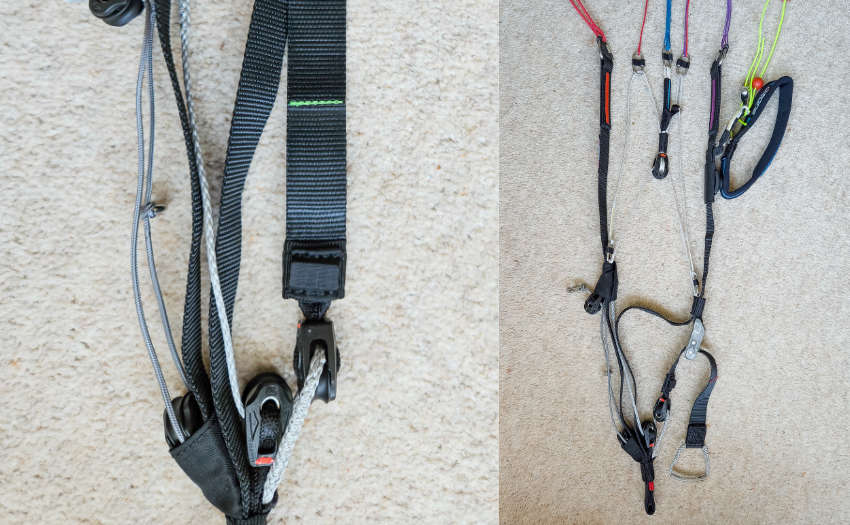
The wing I had for review came with the PK risers which give faster acceleration – but the Viper XC is also available in the standard risers for those who don’t like the PK system. The trim system itself uses a new Rollercam 2 buckle. This seemed to need slightly more pressure to release than their previous buckles – when letting off trim, they need a positive symmetrical push to ensure simultaneous release.
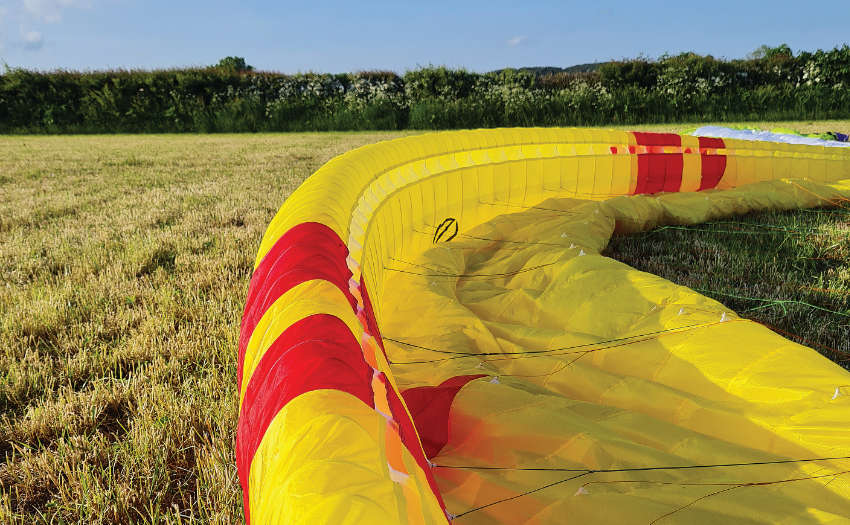
Looking at the wing, the 62-cell leading edge has the expected pronounced sharknose with A-tabs a good distance behind the cell openings. It also has the part-way leading-edge plastics sitting between the cells to help keep the shaping at higher speeds.
One surprise is that Ozone have not opted to use mini ribs at the trailing edge, or G-strings between cell openings at the leading edge. These would surely have increased performance, but with additional cost and therefore reducing its accessibility. I’d love to see a variant with these just to see how much of a difference it would make.
On launch
During the test month, I was lucky to have the full gamut of wind speeds: from nil-wind hot weather launches all the way up to 20-30km/h breezes. No special technique was required in light or stronger winds to launch the Viper XC. In light winds I used the central two A’s – like a lot of gliders these days. A positive run forwards with arms out and back saw the glider rise up easily without over shooting.
In stronger winds it was a similar story with very little overshoot, but because of the high efficiency you did need to take a little step towards the wing just so you could manage the energy a little, nothing difficult for the pilot level this is aimed at.
The fact that the glider has sheathed lower lines also means that on trickier windier days if you need to tidy up your glider layout you can easily do so without fear of creating knots or damaging to the lines.
In the air
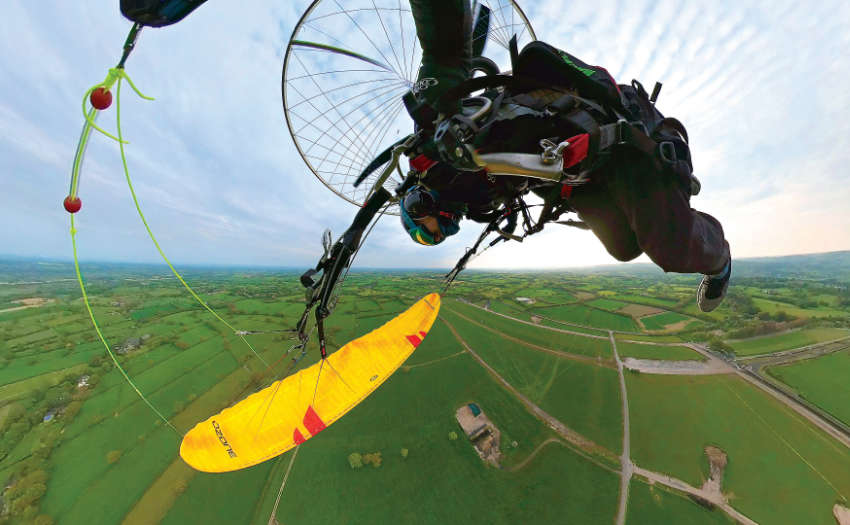
I’ll be honest – I was concerned the winglets might make the wing too stable and not fun. But as soon as I took off that worry disappeared quickly. Turning was easy and well-coordinated with minimal dive given the two-dimensional steering and size of wing.
I weigh 78kg with clothes and noticed a hugely improved climb rate when compared to my 16m freeride at the same power setting.
After flying for a couple of hours the brakes did feel a touch on the long side, but this is to be expected on a wing with a large speed range. If brake lines were not long enough to accommodate large trim changes, then the brakes would be pulling down on the trailing edge at high speeds – the last thing you want with reflex wings.
On the second day of testing I arrived at our field with a few friends who were not flying due to stronger winds and thermic conditions, so I thought “great, perfect time to get the wing up and see how it handles it all!” After climbing to 300m, I switched off the motor, and half an hour later I was still airborne. I had no visual or audio vario, and yet it was easy to feel what the air was doing and therefore where I needed to put the wing to stay in the lift.
Speed and efficiency
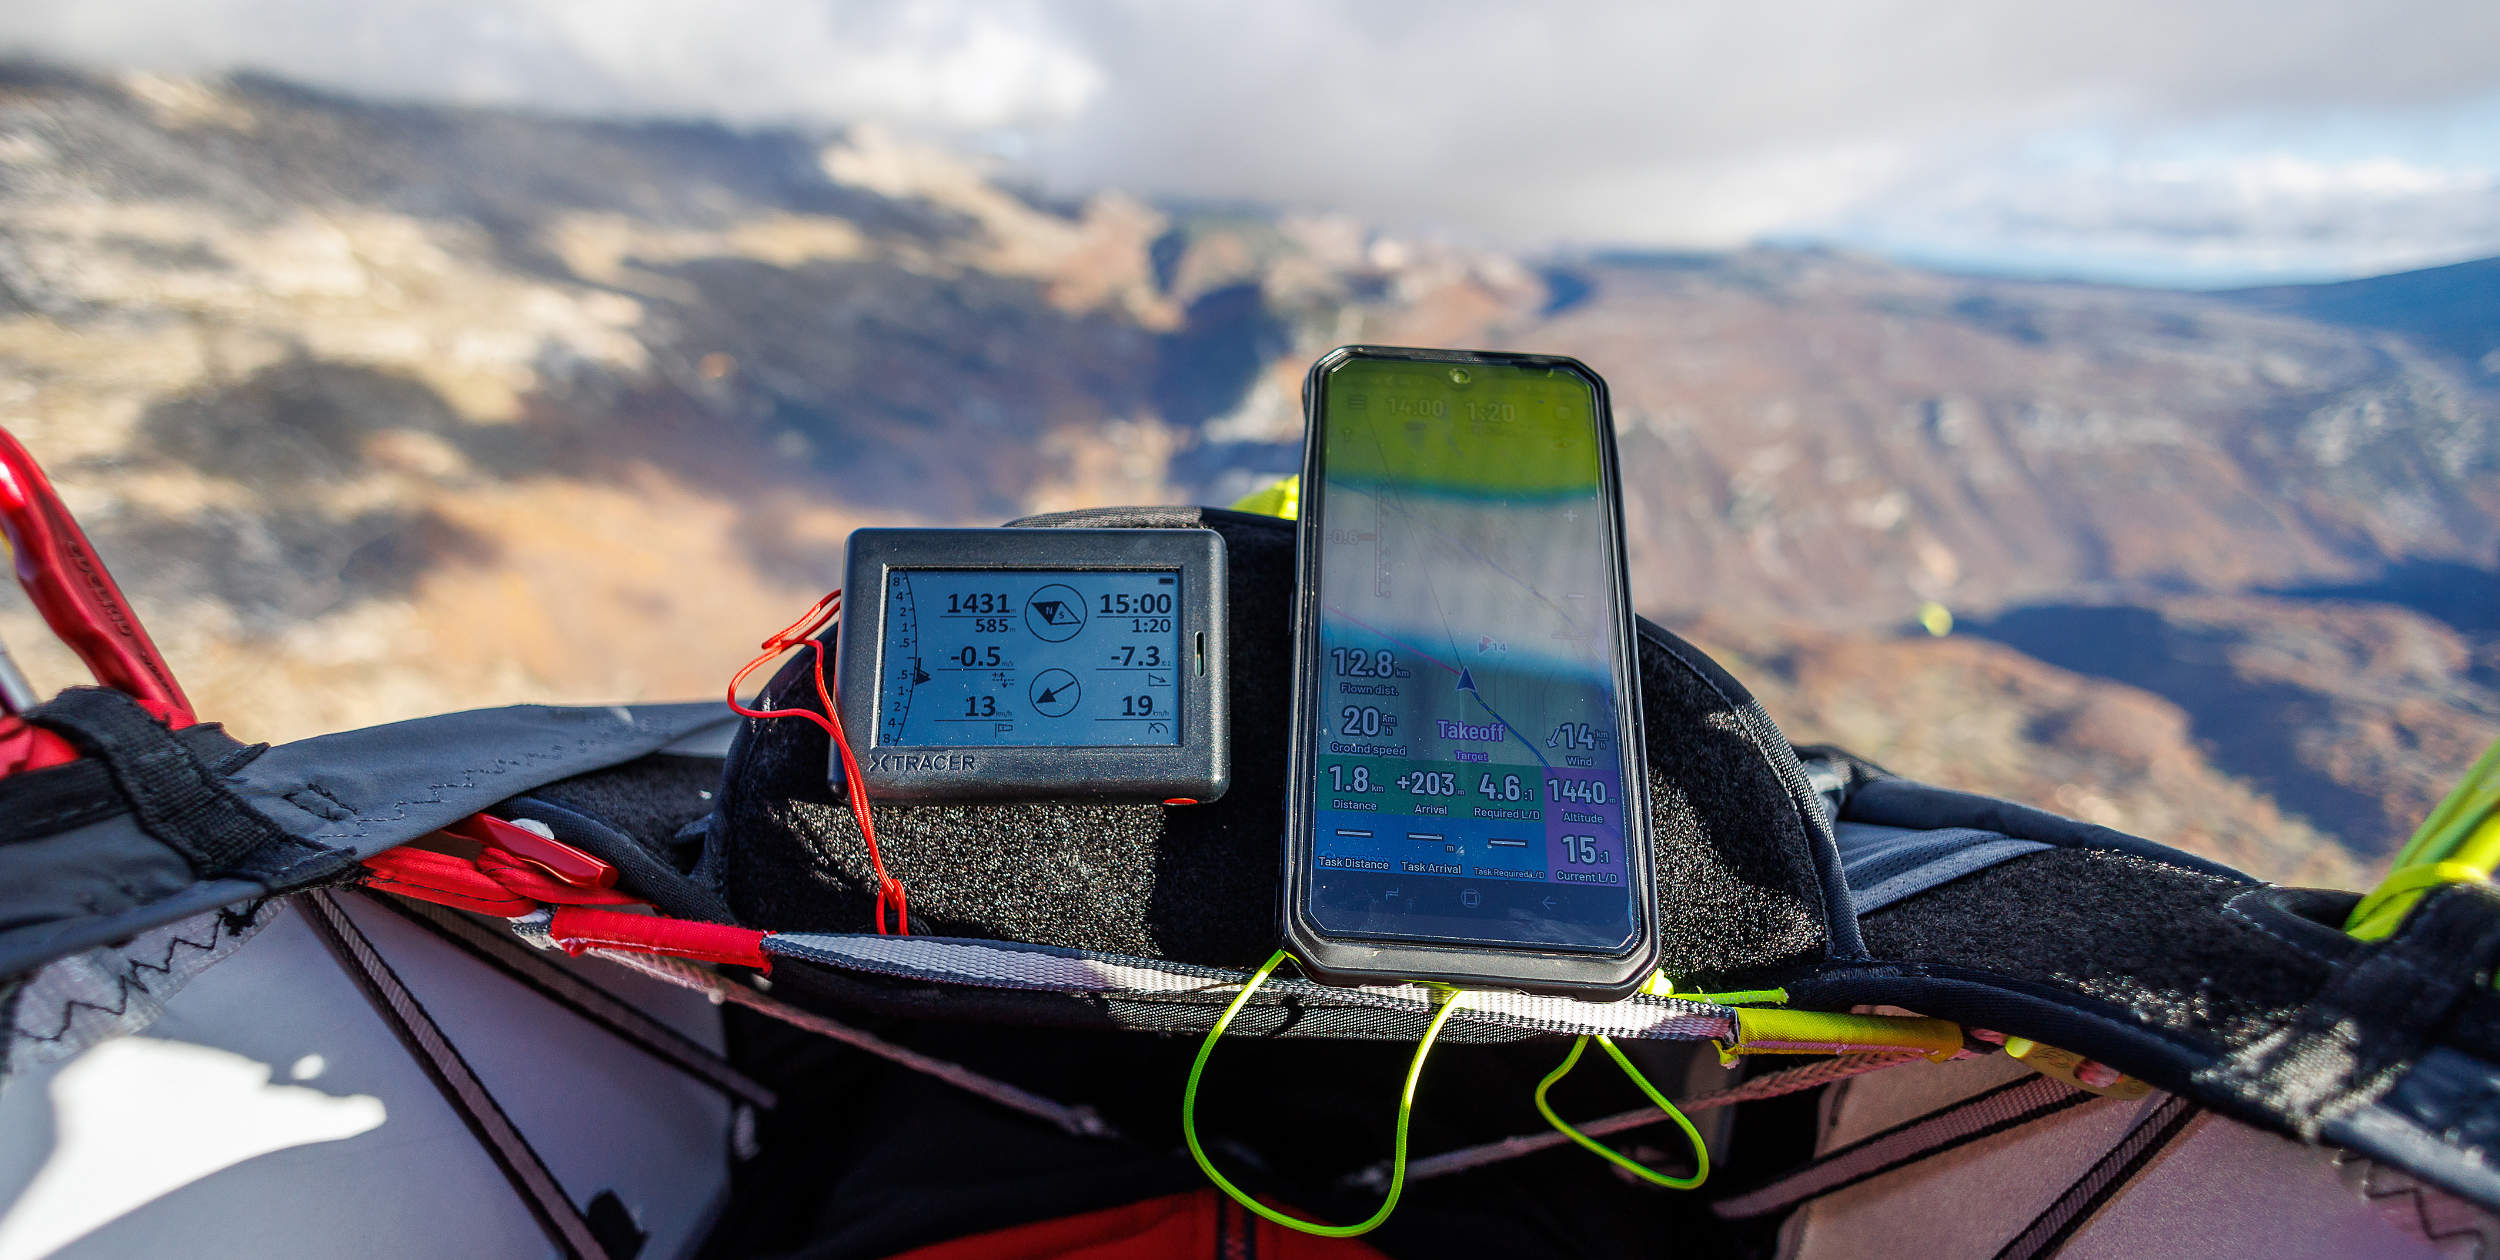
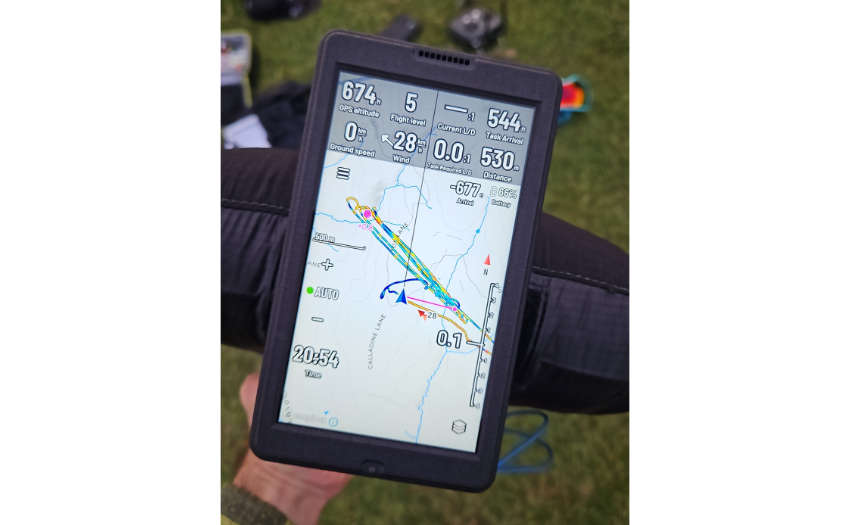
I tested speeds by flying into wind and downwind over a one kilometre course, and repeated this six times, before analysing and averaging the speeds on my IGC files.
I repeated this for each speed setting all flown at a wing loading of 6.16kgm2. At slow trim I measured 42km/h, at fast trim I measured 55km/h, and the top speed was 64km/h. If you were to fly right at the top of the weight range (120kg) your wing loading would increase to 6.66 kgm2, giving an additional 4% boost on the measured speeds – ie a 67km/h top speed. This is still shy of Ozone’s advertised top speeds of over 70km/h. Given the gusty conditions I had on the testing day I know for sure that on some gliders I would be a little scared to push as hard as I did with the Viper XC. But I didn’t get a single flutter from a wingtip and indeed no rolling. This meant I hardly needed any corrective weight shifting or inputs with the brakes… very nice!
For efficiency testing, I did one hour of flying with the trimmers full open (but no speed bar) to mimic XC flying, and this required 4.6 litres of fuel – pretty efficient.
Free flying
I also went free flying with the Viper XC on a nice thermic day at my home hill sites of the Peak District, UK. Even with the small size of glider I was flying, I could climb well and keep up with the normal paragliders but enjoyed the added advantage of having a lot of speed as and when needed. You could certainly take the Viper XC on long XC flights and I wish I’d had time within my test month to do this. The only downside I found when free flying was the two-dimensional steering. It’s great with the motor however, when motorless the tip-steer tends to make the glider dive a little more.
The verdict
Ozone’s developments over the last few years have really helped this series progress. In particular, the new winglets make a positive difference in roll stability and therefore general day-to-day ease of use. That’s not to say you can’t have fun with the wing. Big wingovers and rolls are very much still easily doable with the Viper XC and will for sure bring a big smile. However the Viper XC’s USP is in its efficiency and stability at speed.
When the Viper 3 was launched with a sharknose profile and new line layout, it felt massively more efficient than its predecessors, but lacked some more of the paramotor specific ‘nice-to-haves’. The Viper XC has sorted this and feels like not just a jack-of-all-trades wing but a glider which can do most things really, very well. Because of these improvements in handling, while still being aimed squarely at advanced pilots,
I would say that the Viper XC is also now a little more inclusive in terms of pilot ability than previous iterations.
In short, if you’re a paramotor and paraglider pilot with a budget for just one wing, and you like flying XC, then the Viper XC is a no brainer. I was some way off squeezing the claimed top speeds of over 70km/h out of it, but I was still like a spoilt toddler when the call came for me to send the Viper XC back – very reluctant indeed!
Manufacturer specifications
- Ozone say: “A fast, efficient, and fun to fly wing that balances comfort and performance for the advanced pilot”
- Pilot level: advanced
- Sizes(m²): 16, 18, 20, 22, 24
- PPG weight ranges (kg): 80-110, 90-120, 100-135, 110-145, 115-160
- Flat aspect ratio: 5.8
- Cells: 62
- Weight: 4.09 to 5.42kg (depending on size)
- Certification: DGAC
Published in issue 245 (November 2023)


