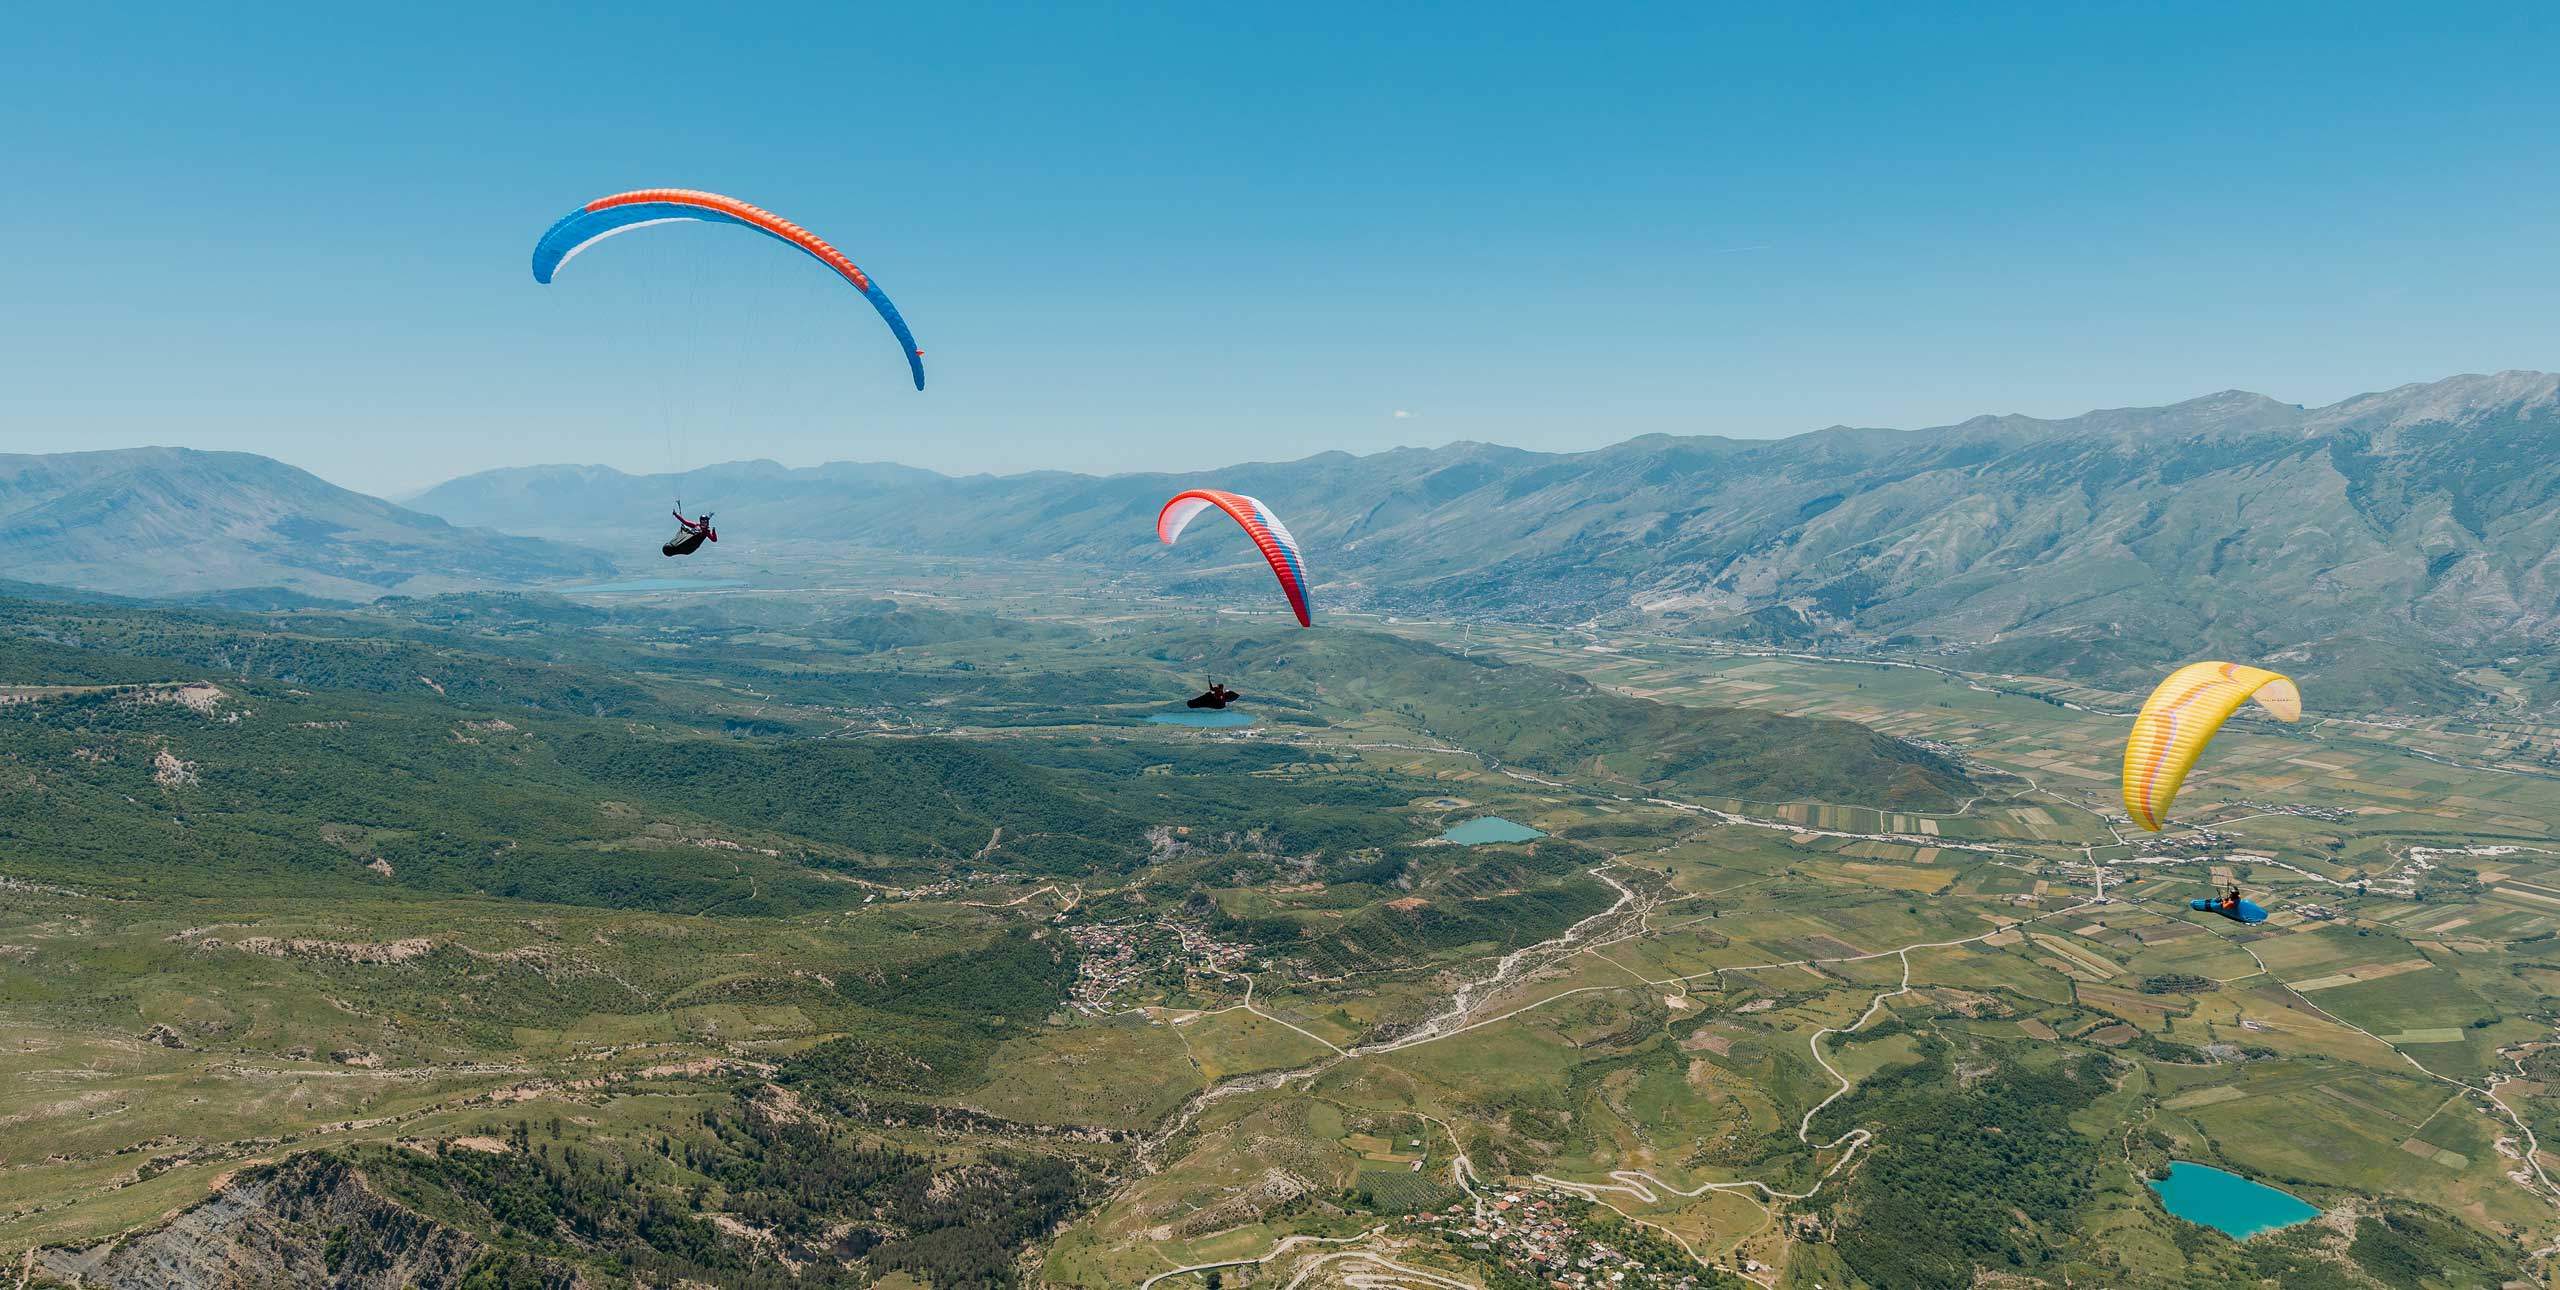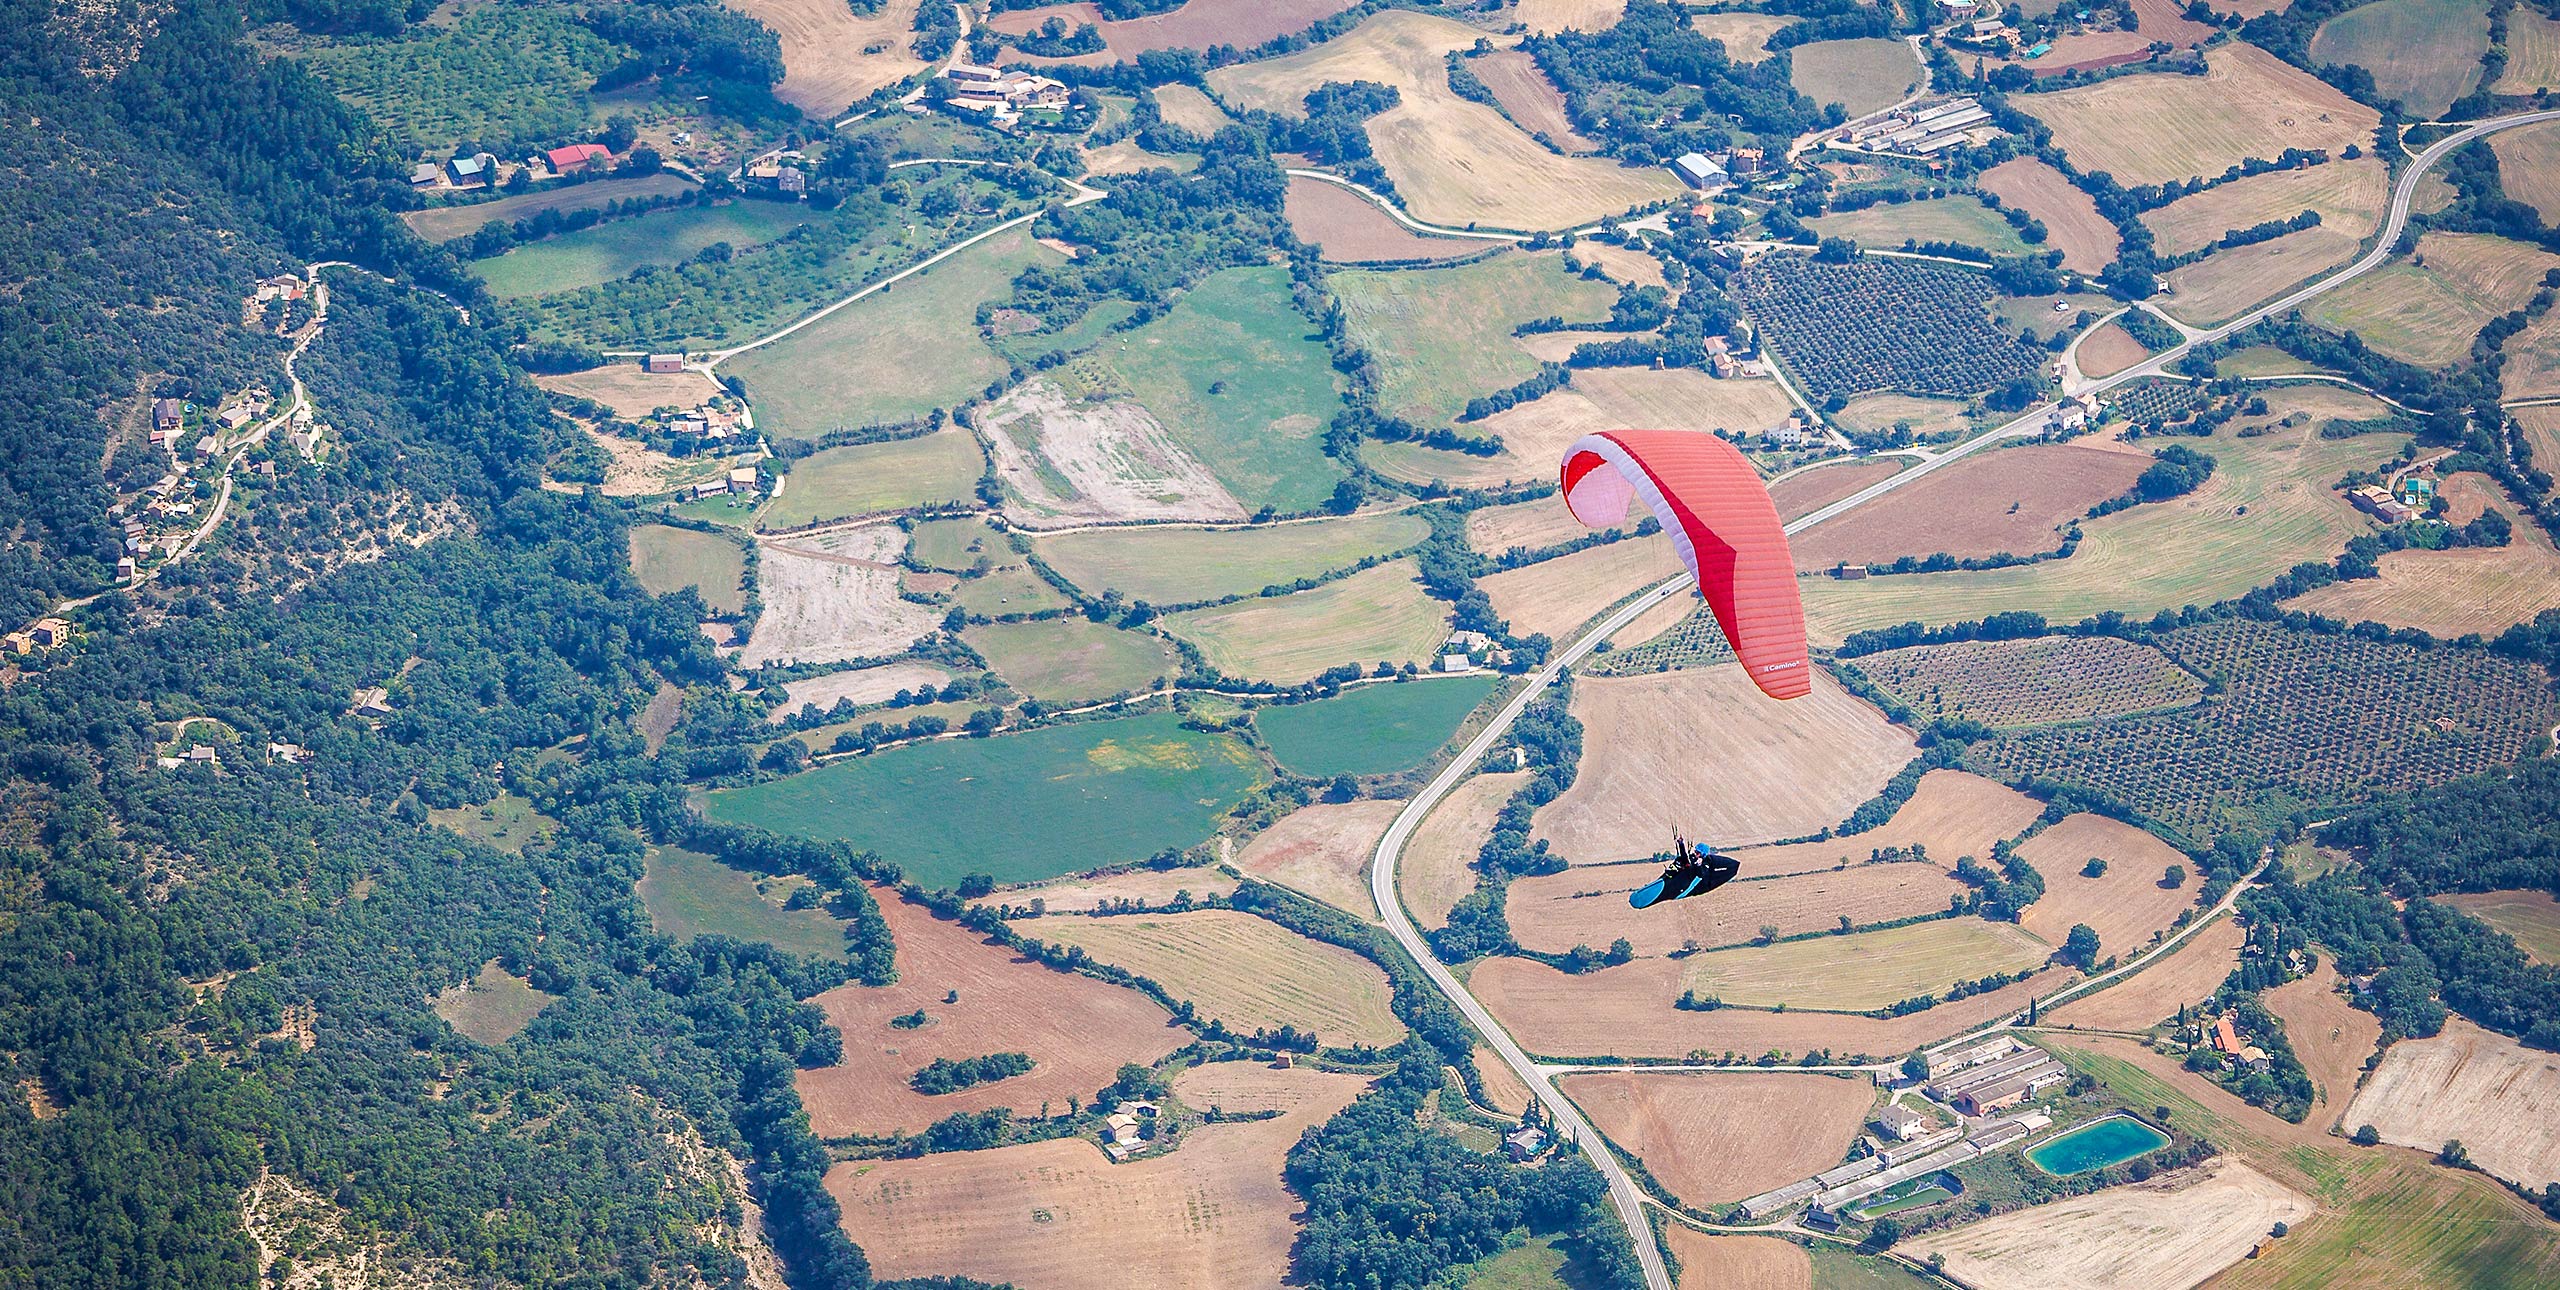
At the base of the acro learning pyramid is the wingover. Master that and you’ve got the basic building blocks to move onto harder, more complex manoeuvres. Raul Rodriguez needs no introduction. As the grandmaster of acro he invented many of the tricks, and is still at the forefront of the sport
THE BASICS
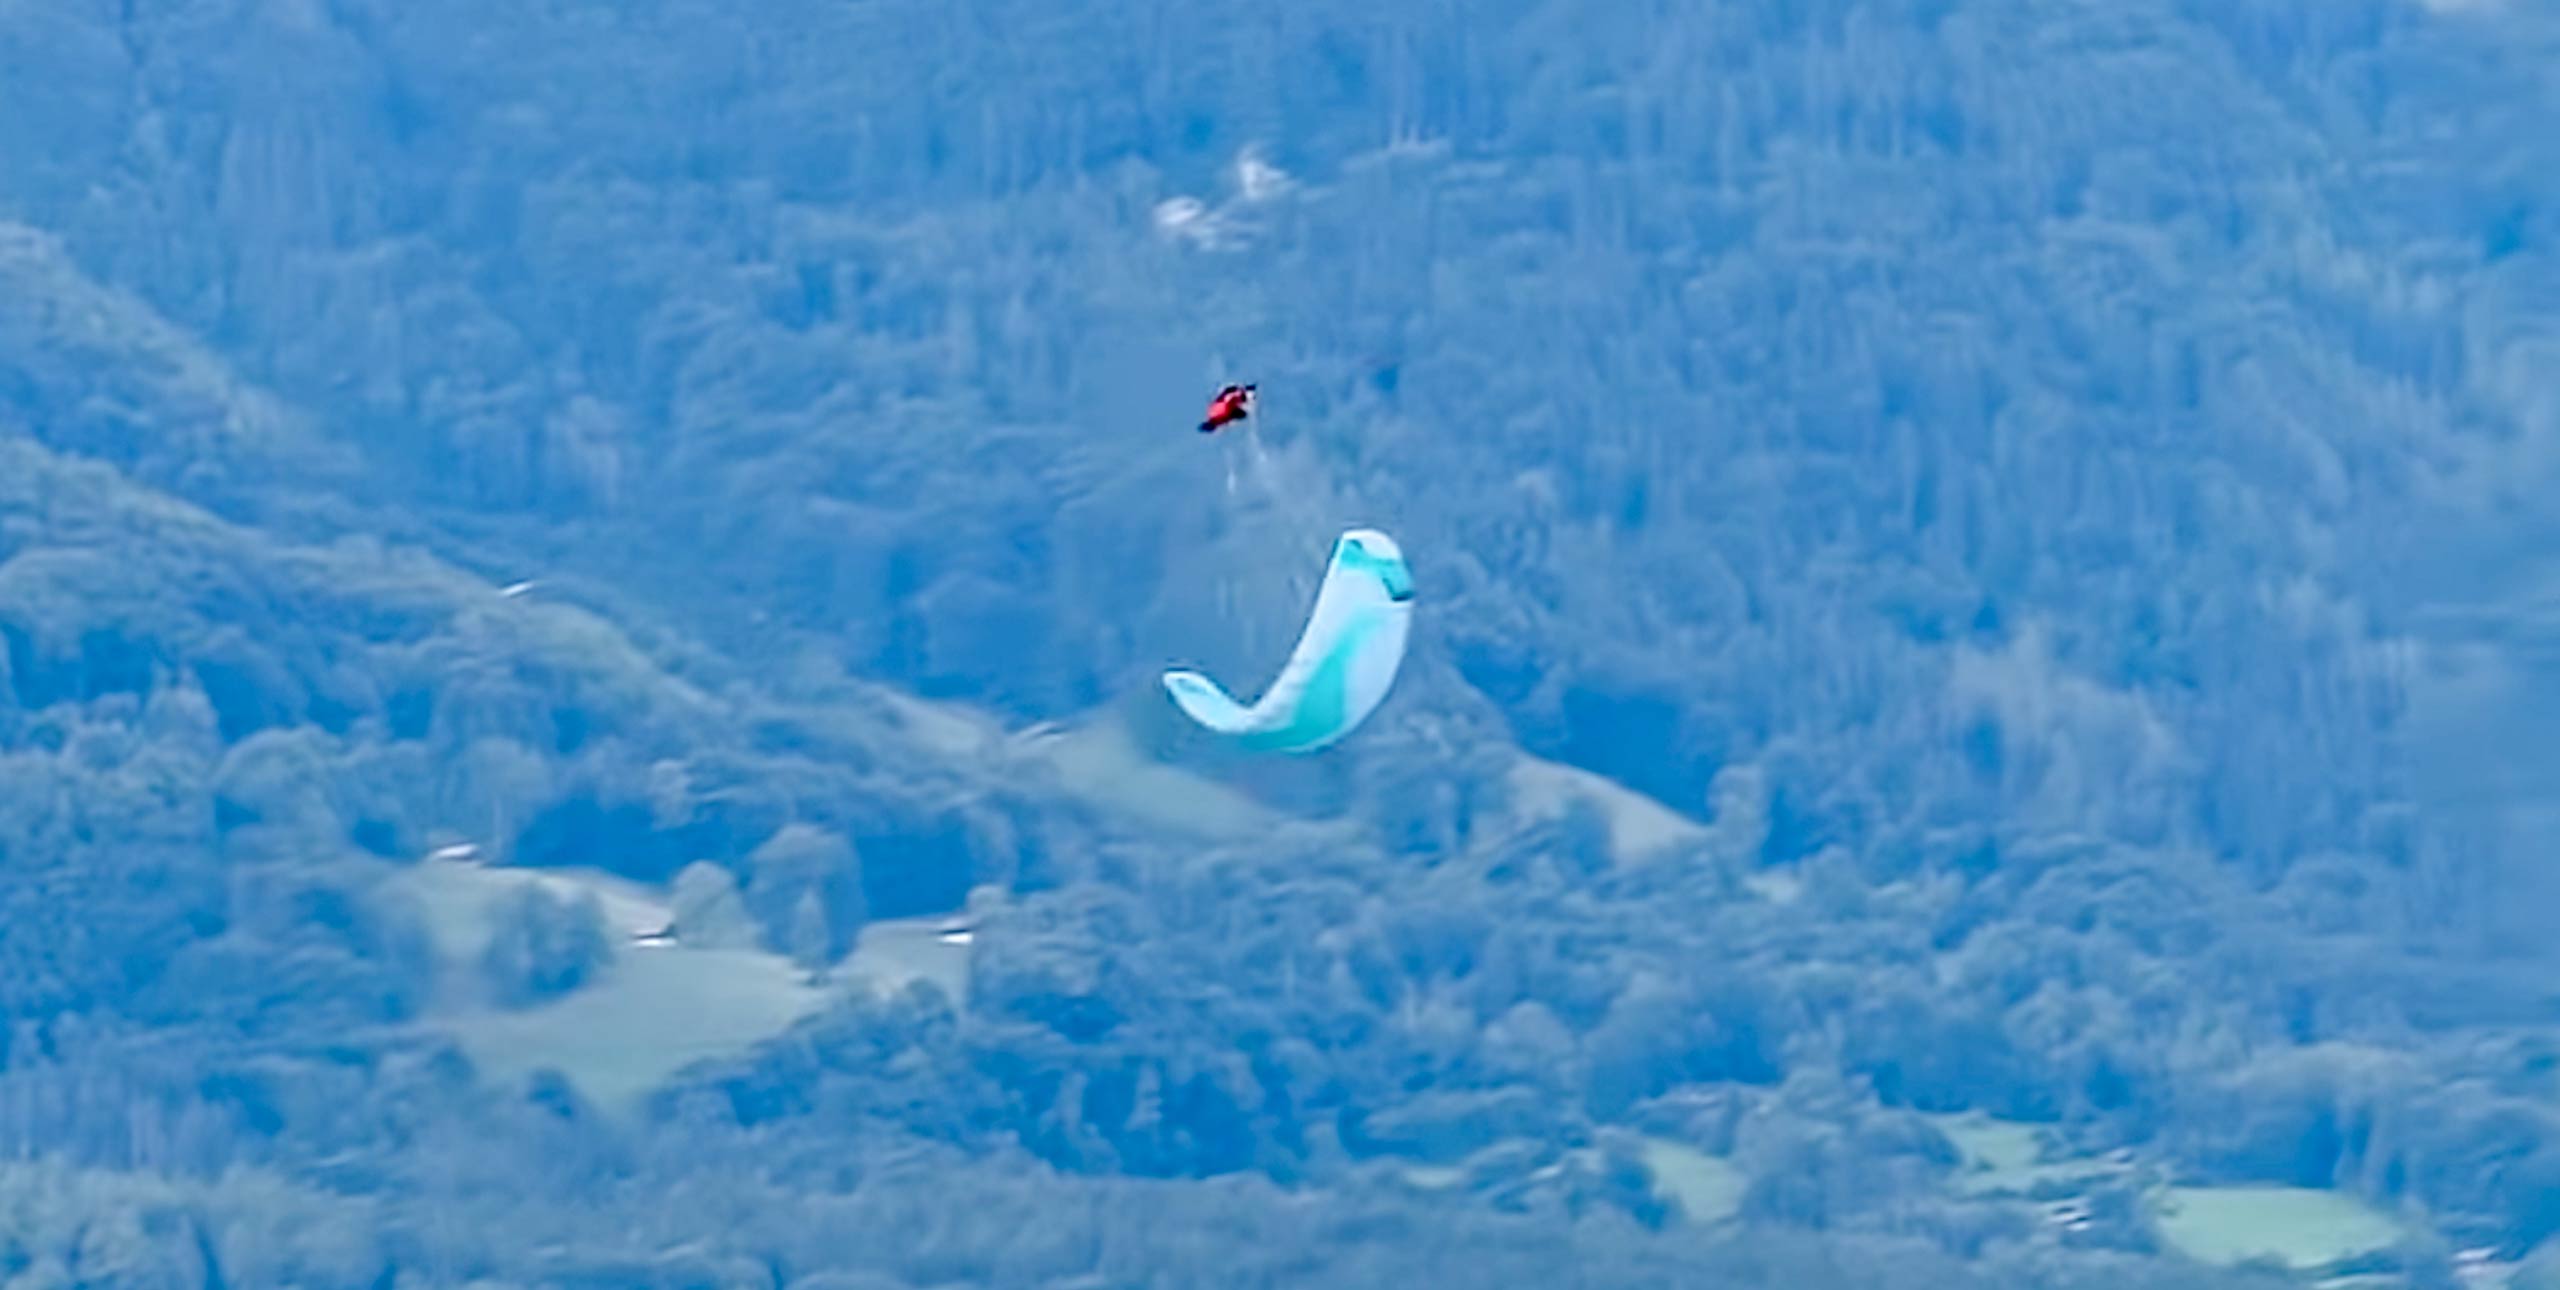
Nice and easy… YouTube clip: David Rossi
Master wingovers and you will have a firm foundation for flying acro. They are a basic manoeuvre that opens doors to all that comes next.
Learn slowly, and build on what has gone before. Bear in mind that each paraglider flies differently, and the pace of their wingovers will be different.
Weightshift, harness position, brake action, wing loading and glider size are all important. The higher the wing loading, the easier it is to make steep wingovers. Less wing loading means less energy. Ideally, you should be near the top of the weight range for your glider.
Every glider has its rhythm, finding it is the main job of the pilot when learning wingovers.
FIND THE RIGHT PLACE
The best place to practice wingovers is with a lot of height, well away from any hillside, and over the landing zone.
However, because you will be in clear air and away from the hillside, there will be no reference point to help with orientation and direction. This can make it difficult to maintain energy and keep the manoeuvre smooth.
To counter this, always set a reference point before you start where you will start and finish your wingovers, preferably in relation to the wind direction.
During wingovers you will usually track slowly forward so facing into wind can counter that.
SAFETY
You learn from your mistakes in wingovers, so be prepared for deflations, cravats and possible reserve deployments. Be proficient in active flying, spirals and simulated collapses before you move onto wingovers.
START SLOWLY
When beginning do really soft wingovers. This will help you to control your orientation and direction. The aim is to have perfect symmetrical wingovers, so each wingover looks like the last one. Begin with soft pendulums. Then slowly increase the extent and energy of these pendulums.
To start, weightshift softly and at the same time gently pull the brake on the same side. The glider will incline on this side. Look at the wingtip to see the inclination of the glider.
As soon as you see the wingtip stop going down, change your body position, weightshift, and pull the brake on the opposite side, looking again at the wingtip of the other side.
Repeat these gentle pendulums often, feeling for the rhythm of your glider. To maintain energy and make sure there are no deflations, focus on looking at the wingtip.
Don’t get above your wing: don’t let the wingtip drop below you or the horizon. If your wingovers build higher than that you risk deflations and cravats.
To control the orientation and direction of your wingovers they must be equal, with the same degree of turn on both sides. At the highest point of the banking turn on both sides you must be facing the same direction.
When the glider inclines more than you want, centre your body and brake both sides softly. This will take you out of the movement and stabilise you. Look for your point of reference and orientate yourself.
STRONG WINGOVERS
Getting good… Jocky Sanderson and Team Ozone on nailing wingovers
Once soft wingovers are under control, you can increase the intensity, energy and extent of the wingovers. For this you must have a minimum height above ground of 500 m and be aware of drift in case you need to use your reserve parachute.
It is advisable to practice over water, with specialised instruction. Be careful: soft wingovers can easily become intense wingovers.
For these wingovers, you need to adopt the same rhythmic movements as for soft wingovers, moving from side to side but with greater intensity in weightshift and brake.
However, with steep wingovers there is a possibility of a strong collapse, cravat or twist. It is also more difficult to maintain the energy, orientation and direction of exit in strong wingovers.
CONTROLLING DEFLATIONS
Perform wingovers and you will certainly suffer collapses, on both outside and inside wingtips. When performing strong wingovers you need to brake the outside wing enough to maintain pressure in the wing.
Without it, the outside wing will collapse. This means when you brake and weightshift to one side, you must also brake the other side to maintain pressure.
If the glider collapses on the outside, you need to brake earlier and more on this side. The glider has little tension on the lines at this point, so it is easy to brake – you need a lot.
CONTROLLING ROLL
Controlling roll helps to prevent inside deflations and slack lines. If the glider loses tension and collapses on the inside, this is usually because the wing has too much energy to that side and rolls below the pilot because the next wingover was started too early.
This throws the glider too far to the side and you have to stop the wingover as soon as you can with a lot of brake input. To stop that happening, let the glider reach the top of the turn before braking and weightshifting.
EXITING
When learning, you will find your wingovers will become stronger than you want and your angle of bank gets too much for you. This is the moment to leave the wingover.
When that happens the best thing to do is to continue your banking turn straight into a spiral and bleed off the energy. Reorientate yourself, check your height and try again.
Remember, be patient, have fun and enjoy the learning experience. See you in the air.


