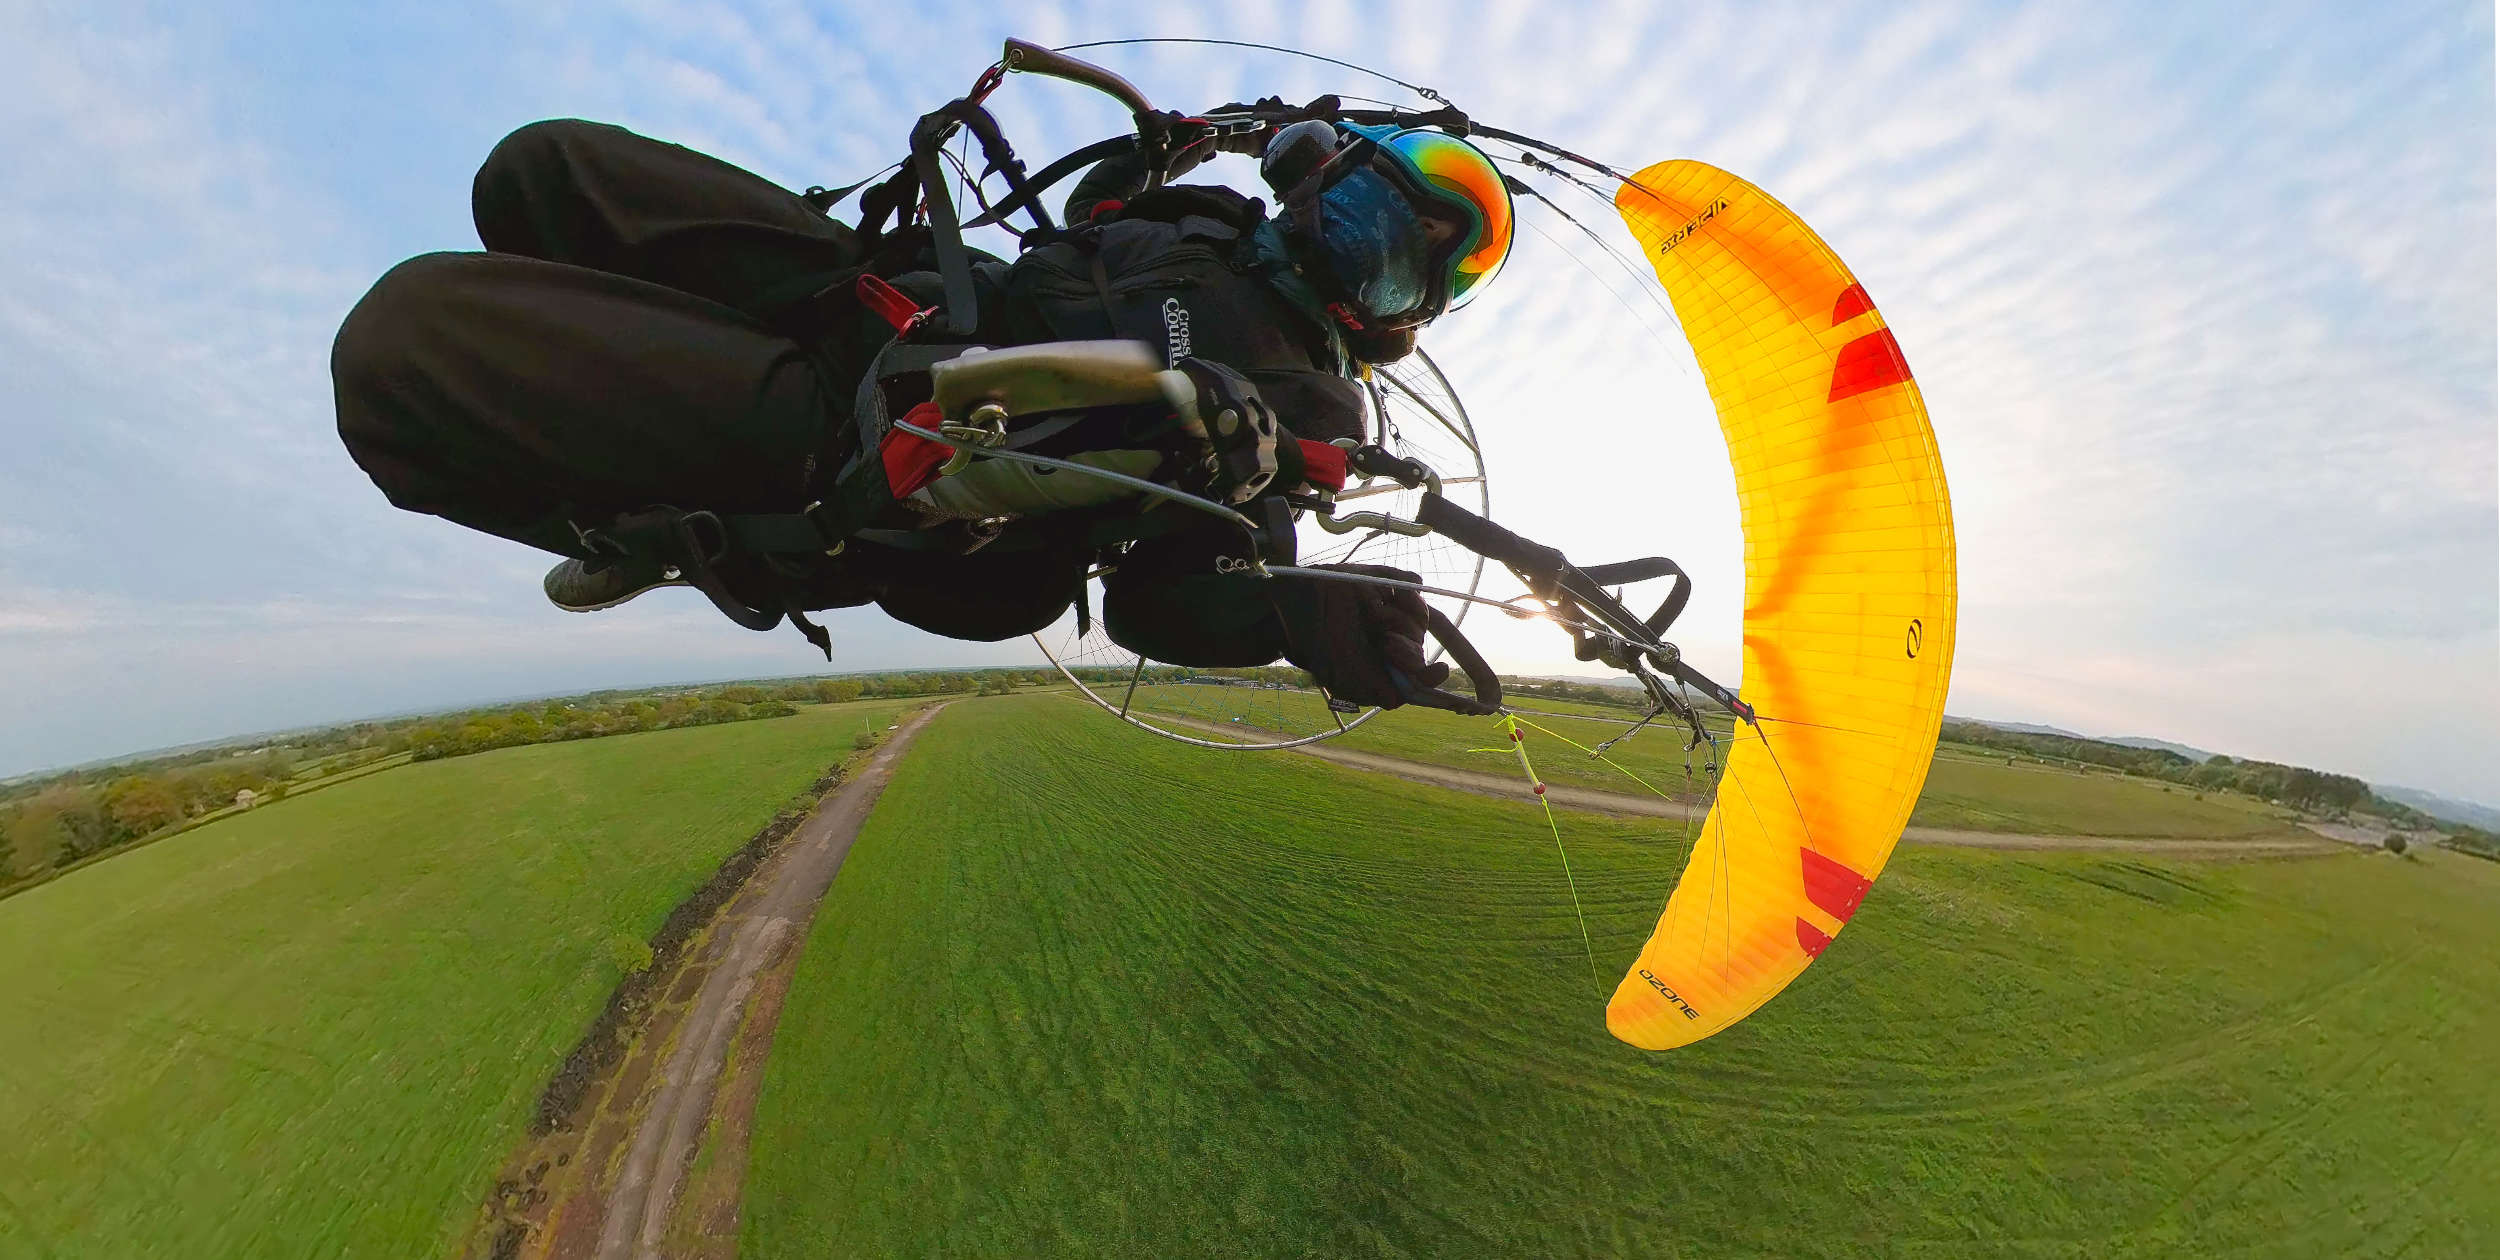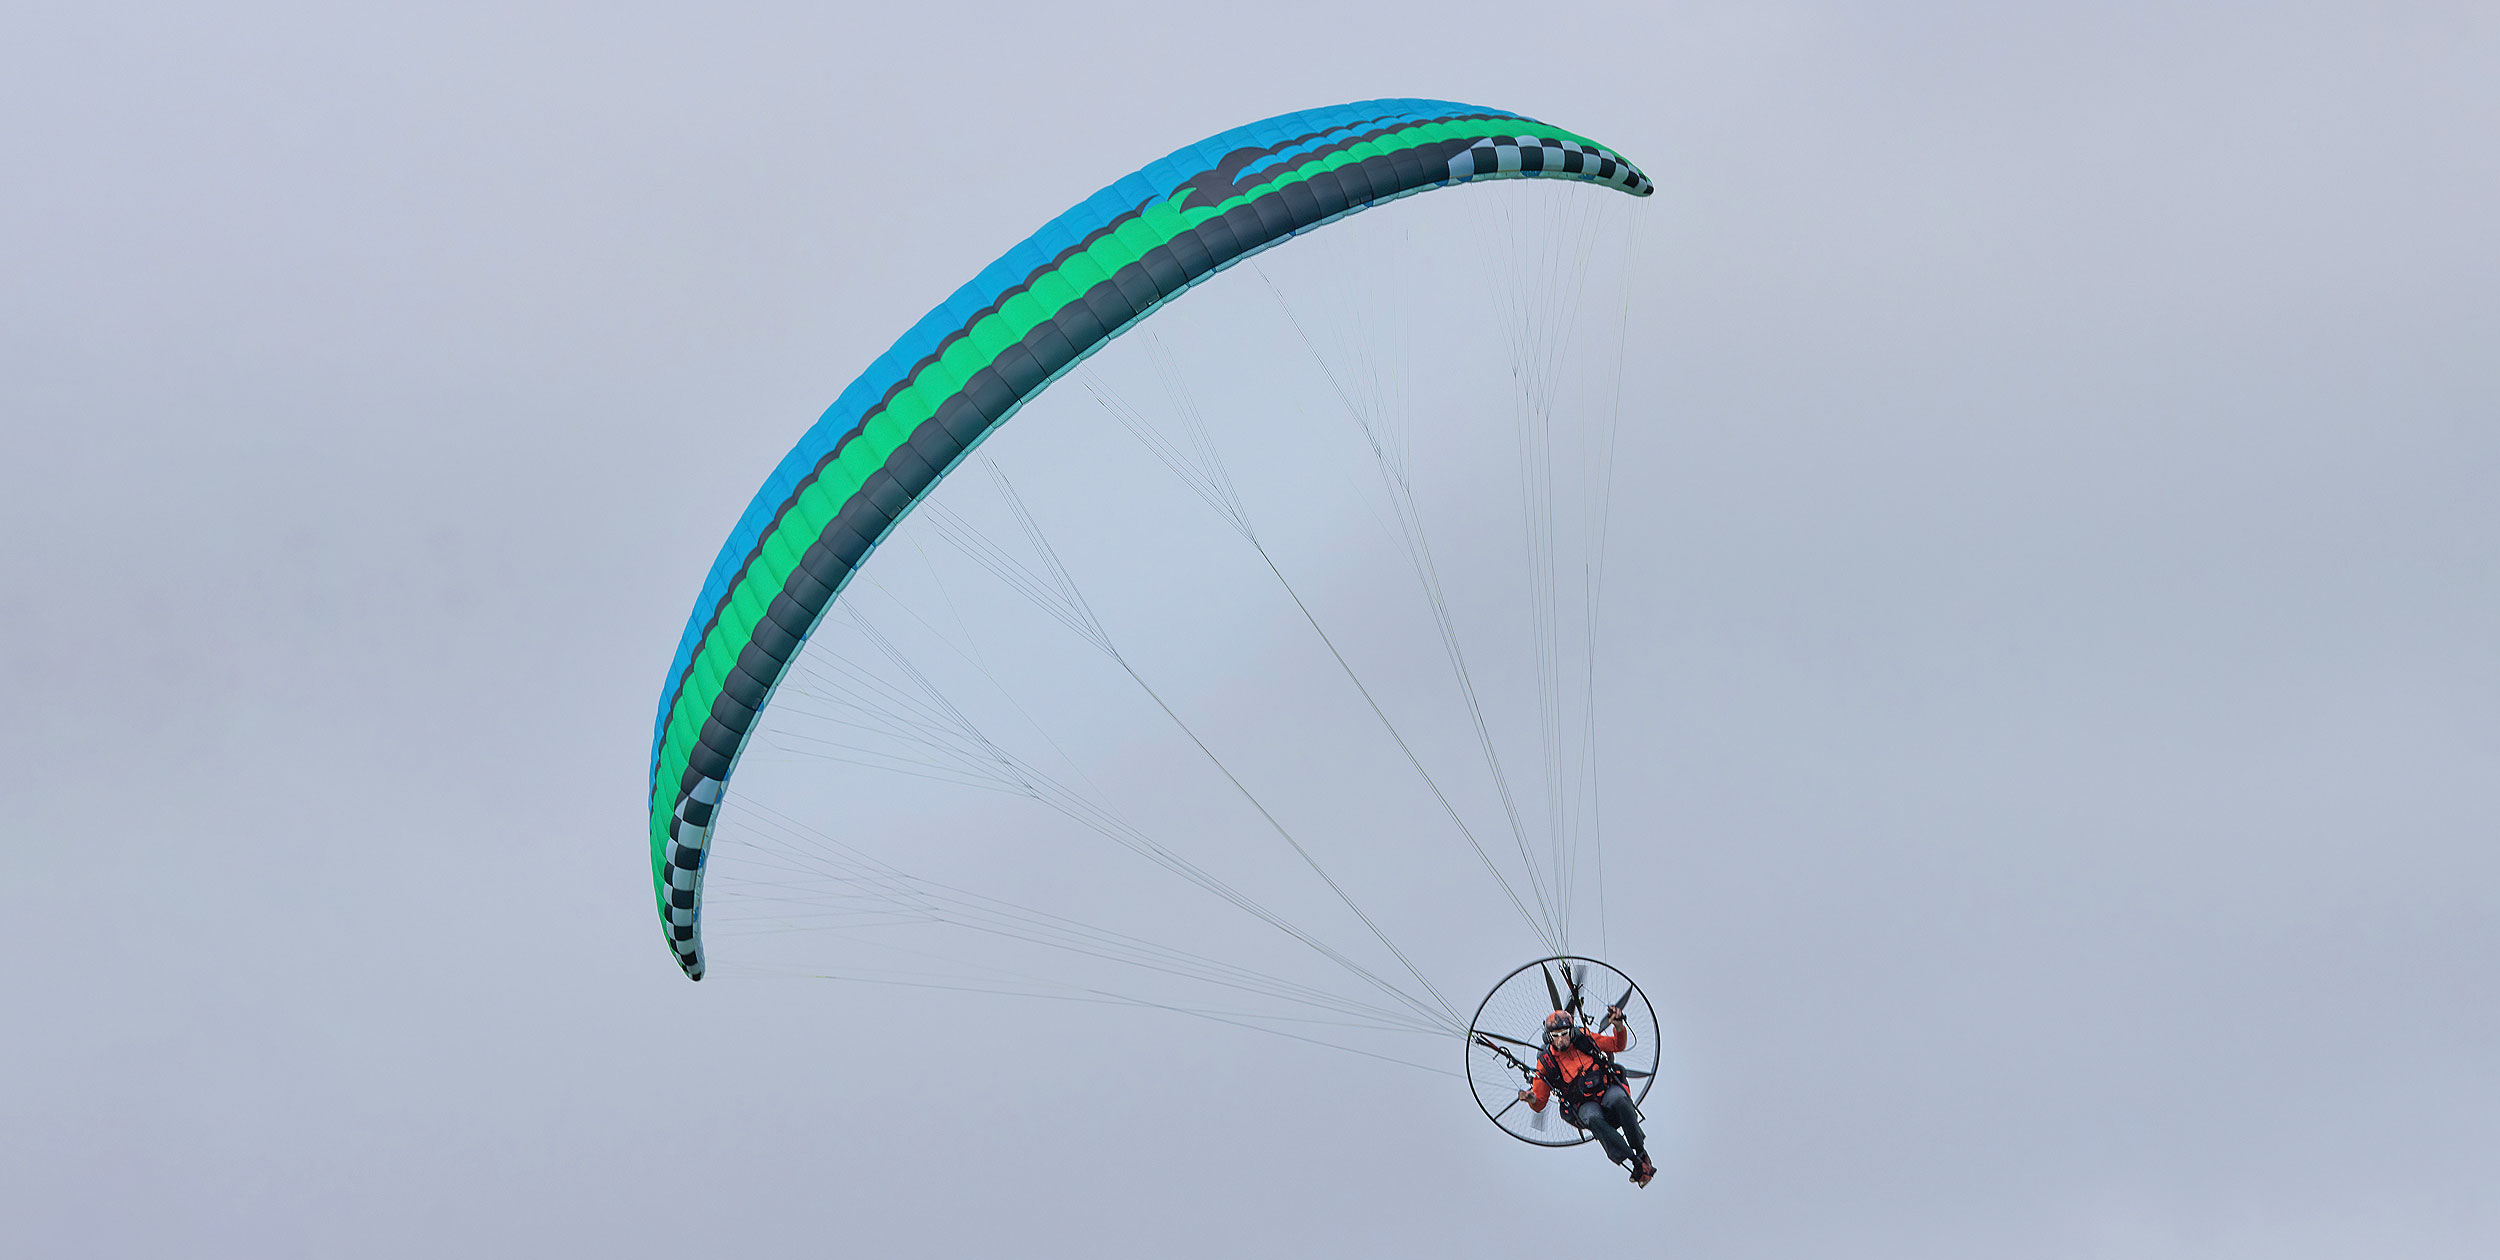
When Ozone originally released the first Roadster back in 2008 it was positioned as an intermediate glider for pilots wanting to do XC as well as having a bit of fun low-level “ground skimming”. It sat beneath the fairly hot-handling Viper, which I would class as a higher-end paramotoring wing and which needed a little more tender loving care.
I learnt to paramotor on low-end paragliding wings and I was excited to try the Roadster 1 when I had the chance as a paragliding/paramotoring instructor back in 2009/2010. However, I was disappointed with its handling and overall performance at the time. For me it was a fairly bland, nondescript wing to fly.
Jump ahead to 2014 and the Roadster 2 was released. In the time between the original and the Roadster 2, sharknose had become mainstream and Ozone were starting to implement this across most of their range due to the great handling/performance advantages it brought.
They added it to their Roadster 2, and in fact a completely new design totally changed the Roadster for me. It had much better handling (felt more playful and “roll-y”) and performance than the original and at the same time felt like it would suit both talented beginners and intermediate pilots (possibly even advanced pilots if they wanted something easy to fly).
Jump ahead a further five years and we now have the Roadster 3, which Ozone say is for newly-qualified to advanced pilots and is dedicated to paramotoring. Despite this I thought it would be good to get it in the air paragliding too.
The design
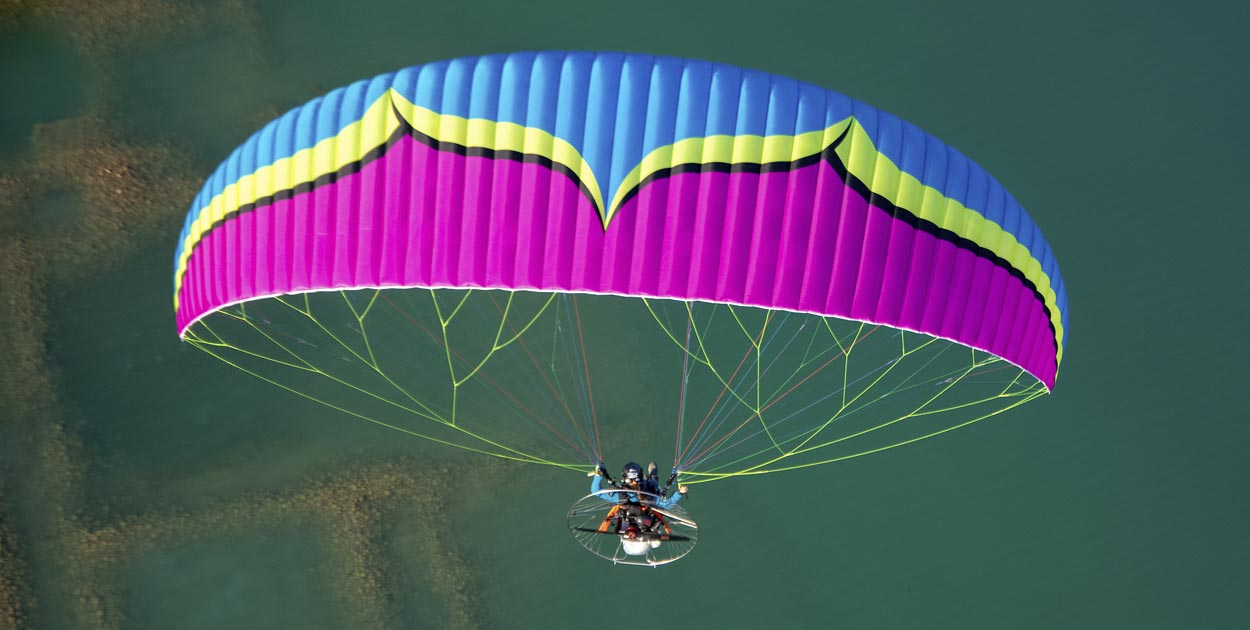
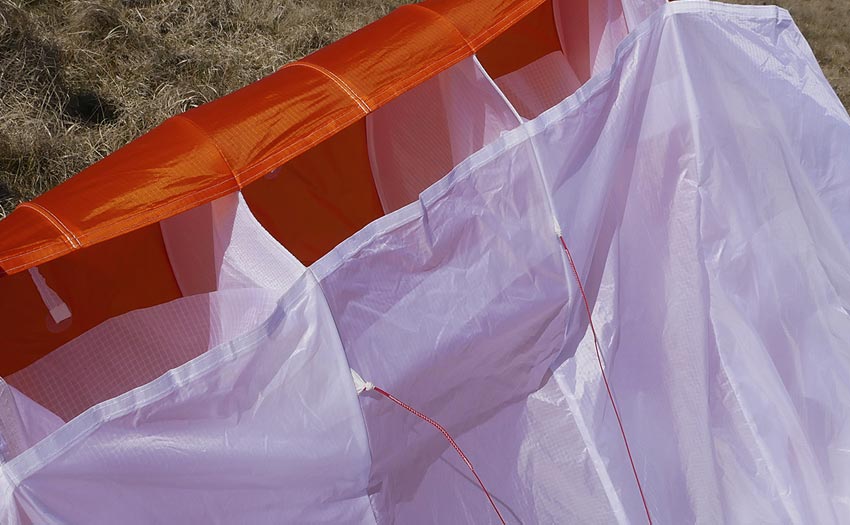
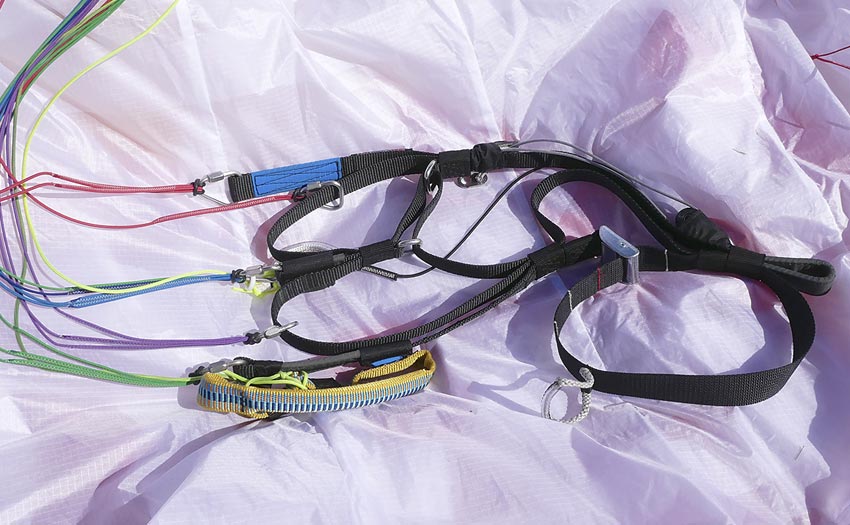
So (finally), the details… well it’s a classic four-line set-up with split-As (two central and a single “big ear” outer-A) , Bs with clearly marked stabilo line, Cs and Ds. The risers are easy to navigate on take-off either on the hill in breezy conditions or in a field with your motor, thanks to the intuitive colour-coding on each of the riser tabs and sheathed lines.
The trimmers have simple clear white increment marks on and a single red line for the neutral position, which is easy to find in flight.
Ozone have kept the aspect ratio the same (5.1 flat) as the second generation and I’m glad they have. The stability was definitely felt during small strong spring thermals when free flying with the wing, which made it quite fun and easy to place in the strong cores when other gliders were leaving the climb to find easier lift.
The glider has a fairly well pronounced sharknose and plastic battens which run on the top surface about one-third of the chord and on the under surface to just behind the A-attachments. It also has the plastic battens or rigifoils for the central section of the leading-edge halfway between cells, to help reduce deformation at low angles of attack (high speed).
I flew the 24m which is rated for paragliding (EN B) between 65-85kg and for paramotoring (DGAC) between 65kg-120kg with further load test up to 168kg (8G). For paragliding I flew the glider with my Woody Valley XR7 pod at AUW of around 85kg and for paramotoring I used the Parajet Maverick with Moster at around 110kg.
Launching
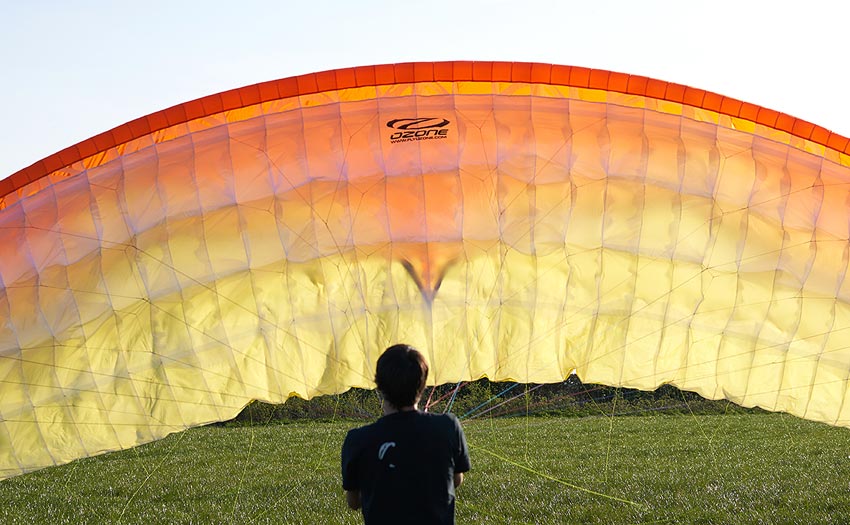
Throwing the glider out of the bag onto the grass you are greeted with the familiar excellent build quality you see on all of Ozone’s gliders. With a quick initial inflation using my hands, the glider rose above my head gradually and didn’t require much energy to do this. As the wind was light (under 2km/h) I set up for a forward launch with the trimmers set to the red-line position. With a gentle step forward the glider rose above my head as it did when first inflating it.
For more experienced pilots this might be misread as being slow/hanging back at first. However, after a couple of launches I could see it doesn’t hang back at all, and in fact just progressively rises. I think this is perfect for lower-airtime pilots as it allows time to correct any possible oscillations (or similar) which in turn makes the whole launch sequence feel less rushed.
Once above my head it didn’t seem to want to overshoot and was off the ground within 25 metres or so and climbing well.
The brakes have a reasonable amount of pressure when trimmed at the red-line mark and of course get lighter when you trim into the full-slow position. Trimmers when fully released added around 10km/h according to my groundspeed over full slow trims and speed bar around 8km/h. When trimmed out fully fast, the glider felt very stable and I was surprised at how clean the leading edge was for a low cell count glider.
I also really like the fact that it has magnets that slide up and down the risers for the brakes so that when you are trimmed in full-fast position you don’t have to put your hands as high to park the brakes: a really nice simple feature.
In the air
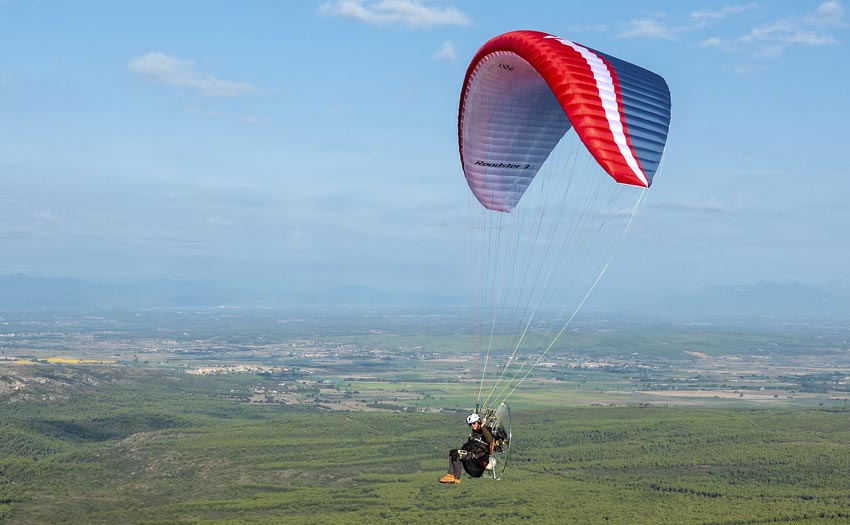
The glider definitely inspired confidence as within minutes I was happy to do extended foot drags down a big long airstrip. It felt compact and solid for its size/wing loading, with pretty big wingovers possible with the right timings and energy. Getting some height to test a couple of manoeuvres was quick and the glider felt very efficient doing this. Trimming the glider fully slow helped me gain a couple of thousand feet in what felt like a really short time, and that efficient and rigid leading edge was felt again when trying some collapses.
Asymmetric collapses using the entire A-riser were very difficult to pull in, requiring significant force to get it to collapse (even more so than other sharknose gliders I have flown) but once in had very little effect on my overall heading: +/- 5 or 10 degrees with directional control fairly easy to achieve. Big ears were possible, but again required a little effort to initialise and stay in. The second you let go of the outer As, the ears released immediately with no cravats, simple!
The smiles really came when I started to do spiral dives and wingovers as, the handling is (to my surprise) really sweet. Big carving wingovers are possible with not too much pressure on the brakes and the whole glider feels solid above your head throughout the speed range. I got a similar feeling when I first went onto a small sub-19m paramotor wing, solidity and fun!
Landing didn’t require any special technique as the wing has a good flare authority either trimmed full-slow or at the red neutral mark. I did find myself trimming it slightly faster for landings though as I like the longer round-out/foot-drag period before full flare; those of you who do this know how good it feels!
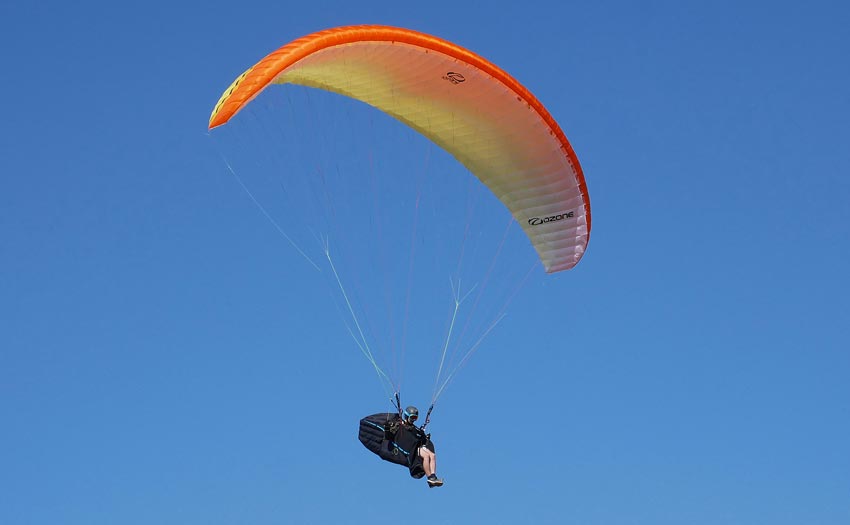
Free flying
Although Ozone say it is a dedicated paramotor wing, there are both paragliding and paramotoring weight ranges on the information placard, and indeed the Roadster 3 has gone through the full EN paragliding certification process. With this in mind I thought I’d give it a go free flying on my local hill (Rushup Edge in the Peak District, UK).
Luckily the day I took it out was perfect for testing with lighter winds in the morning (12-15km/h) with light thermals and getting stronger as the day went on with some 3-4m/s climbs and winds around 15-20km/h. Perfect!
Getting the glider out in a breeze was simple enough (with one wingtip into wind and slightly folded over on itself) and clearing the lines for take-off was also easy thanks to the colour-coded sheathed lines. Launching in a light to moderate breeze was simple, with the glider coming up overhead with no pilot input needed to stop any surging forwards.
In the air the glider felt very well behaved with very little pitching or rolling going in and out of thermals. I did however notice I was having to work slightly harder than other “normal” paragliding wings to maintain height, however it was a lot easier than previous paramotor wings I had free flown. Brake travel is quite long, so I mostly used a single wrap, which made the glider feel more responsive. Brake pressure was progressive with the lower-third of the range being very heavy around the stall point.
Brake pressure is of course slightly lighter than when paramotoring and lighter still when trimmed fully-slow, which I would recommend for free flying. After about 10 minutes of dialling in on the glider’s behaviours and handling I didn’t even realise I was flying a paramotor wing as putting the glider into small strong thermals felt easy and stress free.
Spins and stalls
Taking the Roadster a little higher gave me the opportunity to test its slow-flight characteristics with spins and stalls being high on the testing checklist of mine. With approximately 50% brake on both sides (with a wrap) and burying the right brake, the wingtip slowly starts to peel back giving you a good amount of time before the wing starts to yaw in that direction. Putting hands up quickly resolves the impending spin with ease and without complication.
Stalling the glider took a little more effort as the wing really wanted to fly. Again with a wrap, the brake pressure got progressively heavier with the stall point being really quite low. Not only this, but you need to hold it there for a second or two before it falls back into full stall. Recovery was relatively simple with hands-up position and catching of the small dive as it exited.
Conclusion
Overall I would call this a great jack-of-all-trades glider. Not that it’s OK for both paramotoring and paragliding, but actually it’s really pretty good for both considering it’s a four-line reflex-profile wing.
Lower-airtime pilots will appreciate its solidity and ease of use and those higher airtime pilots will enjoy its handling, speed and playfulness both for paragliding and paramotoring.
I think the 24m was the best compromise for both powered and non-powered flying for my weight (72kg) and have really enjoyed my time flying it.
MANUFACTURER’S SPECIFICATIONS
Ozone say: “Designed for pilots of all abilities. A dedicated paramotor wing with a full reflex profile.”
Use: Paramotoring, also certified for paragliding
Pilot level: New to intermediate pilots
Sizes: 22, 24, 26, 28, 30
PG weight range (kg): 55-80, 65-85, 80-100, 95-120, 110-140
PPG (DGAC) weight range (kg): 55-105, 65-120, 80-140, 95-160, 110-190
Glider weight (kg): 5.01, 5.33, 5.65, 5.99, 6.28
Cells: 48
Flat aspect ratio: 5.1
Certification: DGAC and EN B
This review was originally published in Cross Country magazine issue 201 (July 2019).
Lawrie Noctor has been flying since 2009 and is a qualified paragliding and paramotoring instructor as well as competition and XC pilot. Equally at home flying the latest CCC class glider or an easy EN B, his favourite locations to fly (so far) are the Peak District (GB), St André (France) and Kruševo (North Macedonia).


