“The secret to the perfect wingover is to be able to manage correctly the movement of the glider in all three axes: pitch, roll and yaw”. Bruce Goldsmith shares his tips on how to get your wingovers right.
I was shocked to hear recently of the death of one of my friends from practising wingovers. The pilot had been flying for some years and was actually under instruction at the time, trying to build confidence and skills.
Why so dangerous?
The problem when learning wingovers is it is easy to get into a situation that requires more skill to get out of than to get into. A badly coordinated wingover leads almost automatically to a large cravat that can be hard to get out, on any glider. It’s a question of the experience trap: you have the confidence to start wingovers but not the SIV skill to recover the cravat. Result: the confidence and skill to get yourself into the tricky position but not the skill to get out.
Wingover basics
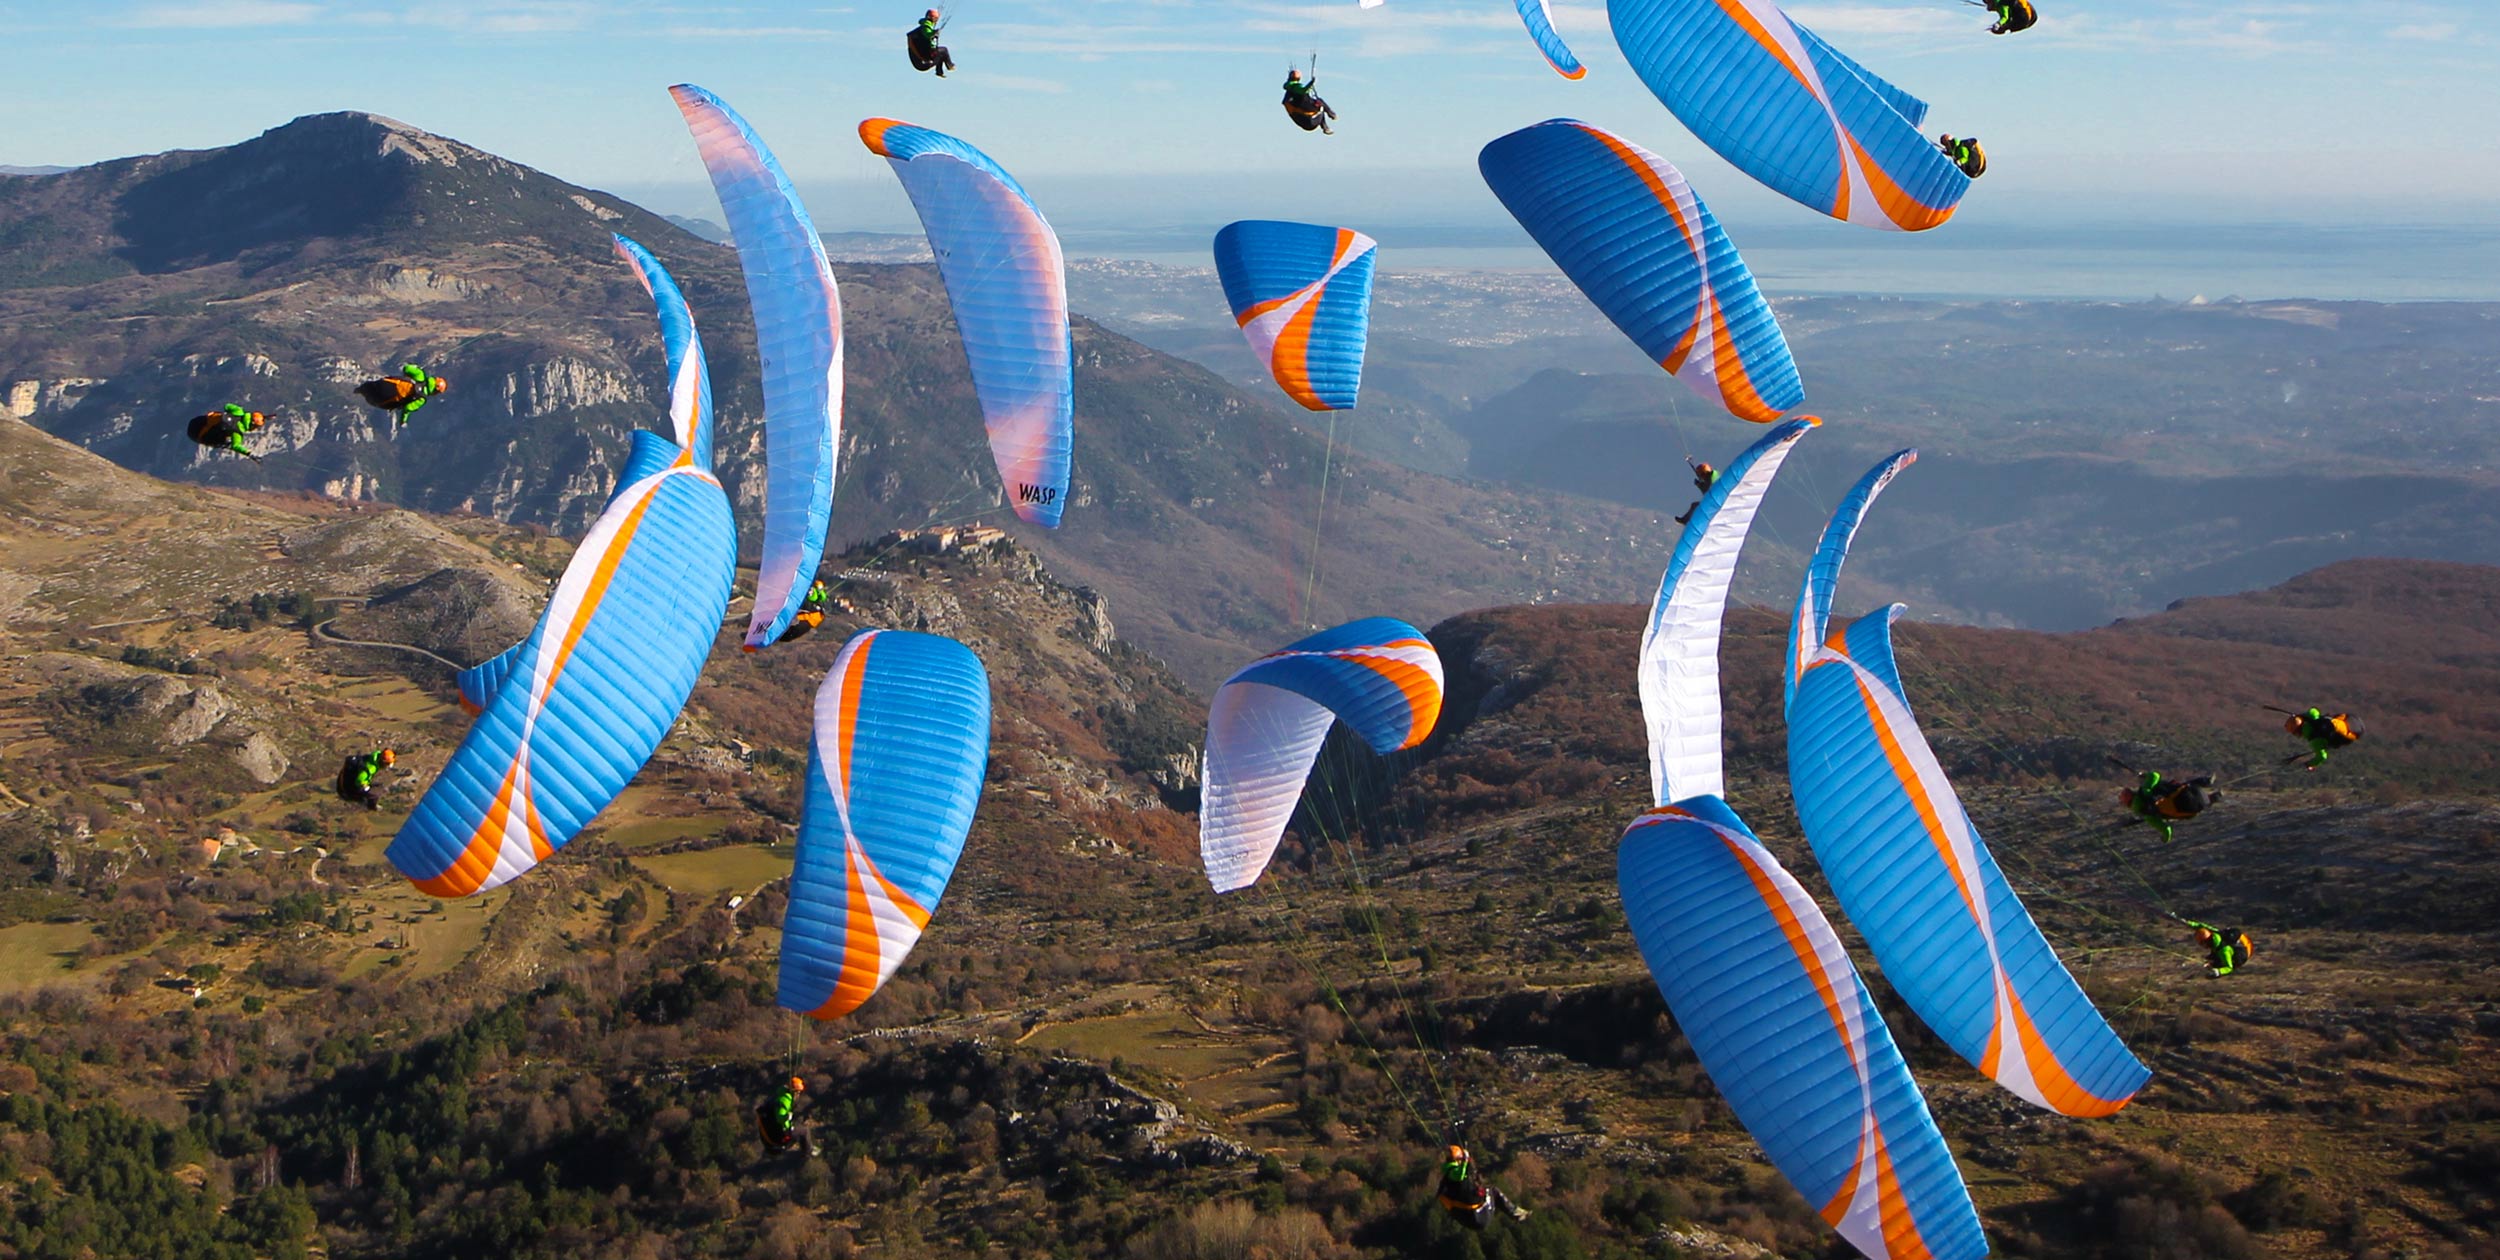
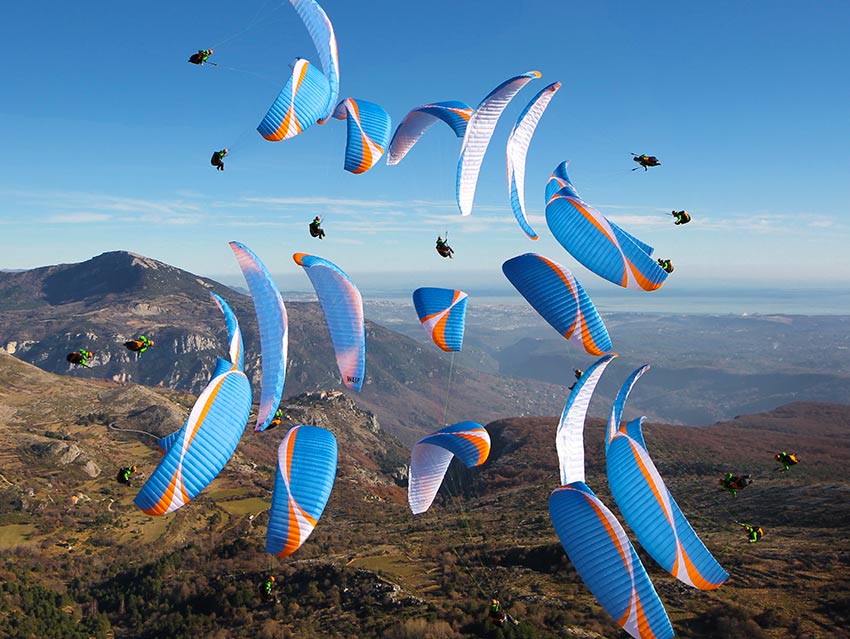
Wingovers are essentially simply a series of linked turns. You start with gentle wingovers, then slowly increase the height of the oscillations. The critical part of wingovers is to get the correct wing movement at the peak of each turn. You need to coordinate it correctly so the wing turns smoothly at the peak of the climb to set off on its downward path while maintaining good tension in the lines at all times and avoiding any collapses.
The most common error is to have the wing still climbing and pointing upwards when the pilot has started descending. This results in a collapse. If the wingover is already high the collapse easily gets caught in the lines and stuck, leading to autorotation with potentially disastrous results.
The key: yaw control
The secret to the perfect wingover is to be able to manage correctly the movement of the glider in all three axes: pitch, roll and yaw. Unlike a glider (sailplane), a paraglider has no controls to directly control yaw, yet the correct control of yaw is the key to the wingover. On a paraglider yaw can only be indirectly controlled through the brakes.
The sweep and arc of a paraglider makes the glider naturally point in the direction it is flying. Normally yaw is simply not an issue on a paraglider because of this natural tendency for the wing to always point the way it is going. However, in a wingover this does not happen naturally and the pilot needs to manage yaw himself. This can be the first time a pilot has come up against this issue, and is what makes wingovers an important lesson in proper control.
The perfect wingover
Start with a smooth brake application on the right, applying the brake on then off in about three seconds. At the start of the brake input the glider will rock back slightly and then, as you release brake, it will surge forwards slightly. You then need to use this slight surge to start a swinging movement, with the pilot as the weight of the pendulum.
The next brake application on the other side will increase the pendulum, if the timing is correct. Getting this part of the coordination of a wingover correct is not so difficult, and it is easy to think at this stage that you have it cracked. However, it is correct control of yaw that is the magic ingredient. Because not only does a glider pitch when you apply the brake, but it also yaws. How much depends on how fast and deep you pull the brake. Get this wrong and the glider will be facing up when you start to descend, resulting in what I describe as a kind of scissor effect. It is this that causes the collapse that can result in a cravat.
The required amplitude and speed of brake application is different for each glider. It depends on pilot weight, line length and glider aspect ratio as well as aerodynamic characteristics such as profile and wing curve. Get the feeling for your wing.
The outside brake
If you don’t get the timing exactly correct it is always possible to use outside brake as well as inside brake to keep the wing pressurised and to stop the lines going slack. This little trick enables you to recover from a bad wingover and keep the rhythm going.
The energy of a wingover can build very fast, resulting in wingovers above 90-degrees very quickly, even if you only intended to do small ones. So don’t build up the amplitude too fast, but concentrate instead on getting the perfect coordination of each turn. Only when the turns are perfect should you allow yourself to go up to 90-degrees or beyond. Of course, don’t practice wingovers of high amplitude unless you are over water.
Supine Harnesses
Flying wingovers with a supine harness is much more difficult than with a sit harness. The pilot/harness can also yaw independently from the glider and so the pilot not only needs to manage the yaw of the wing but also the yaw of the harness. Make sure you train wingovers in a seated harness first and only go on to a supine harness when you have fully mastered wingovers seated.
Best over the water
Practise over water on an SIV course, with all the safety precautions in place. Make sure you have sufficient height to recover from any nasty cravat.
This article was published in Cross Country Magazine issue 151.