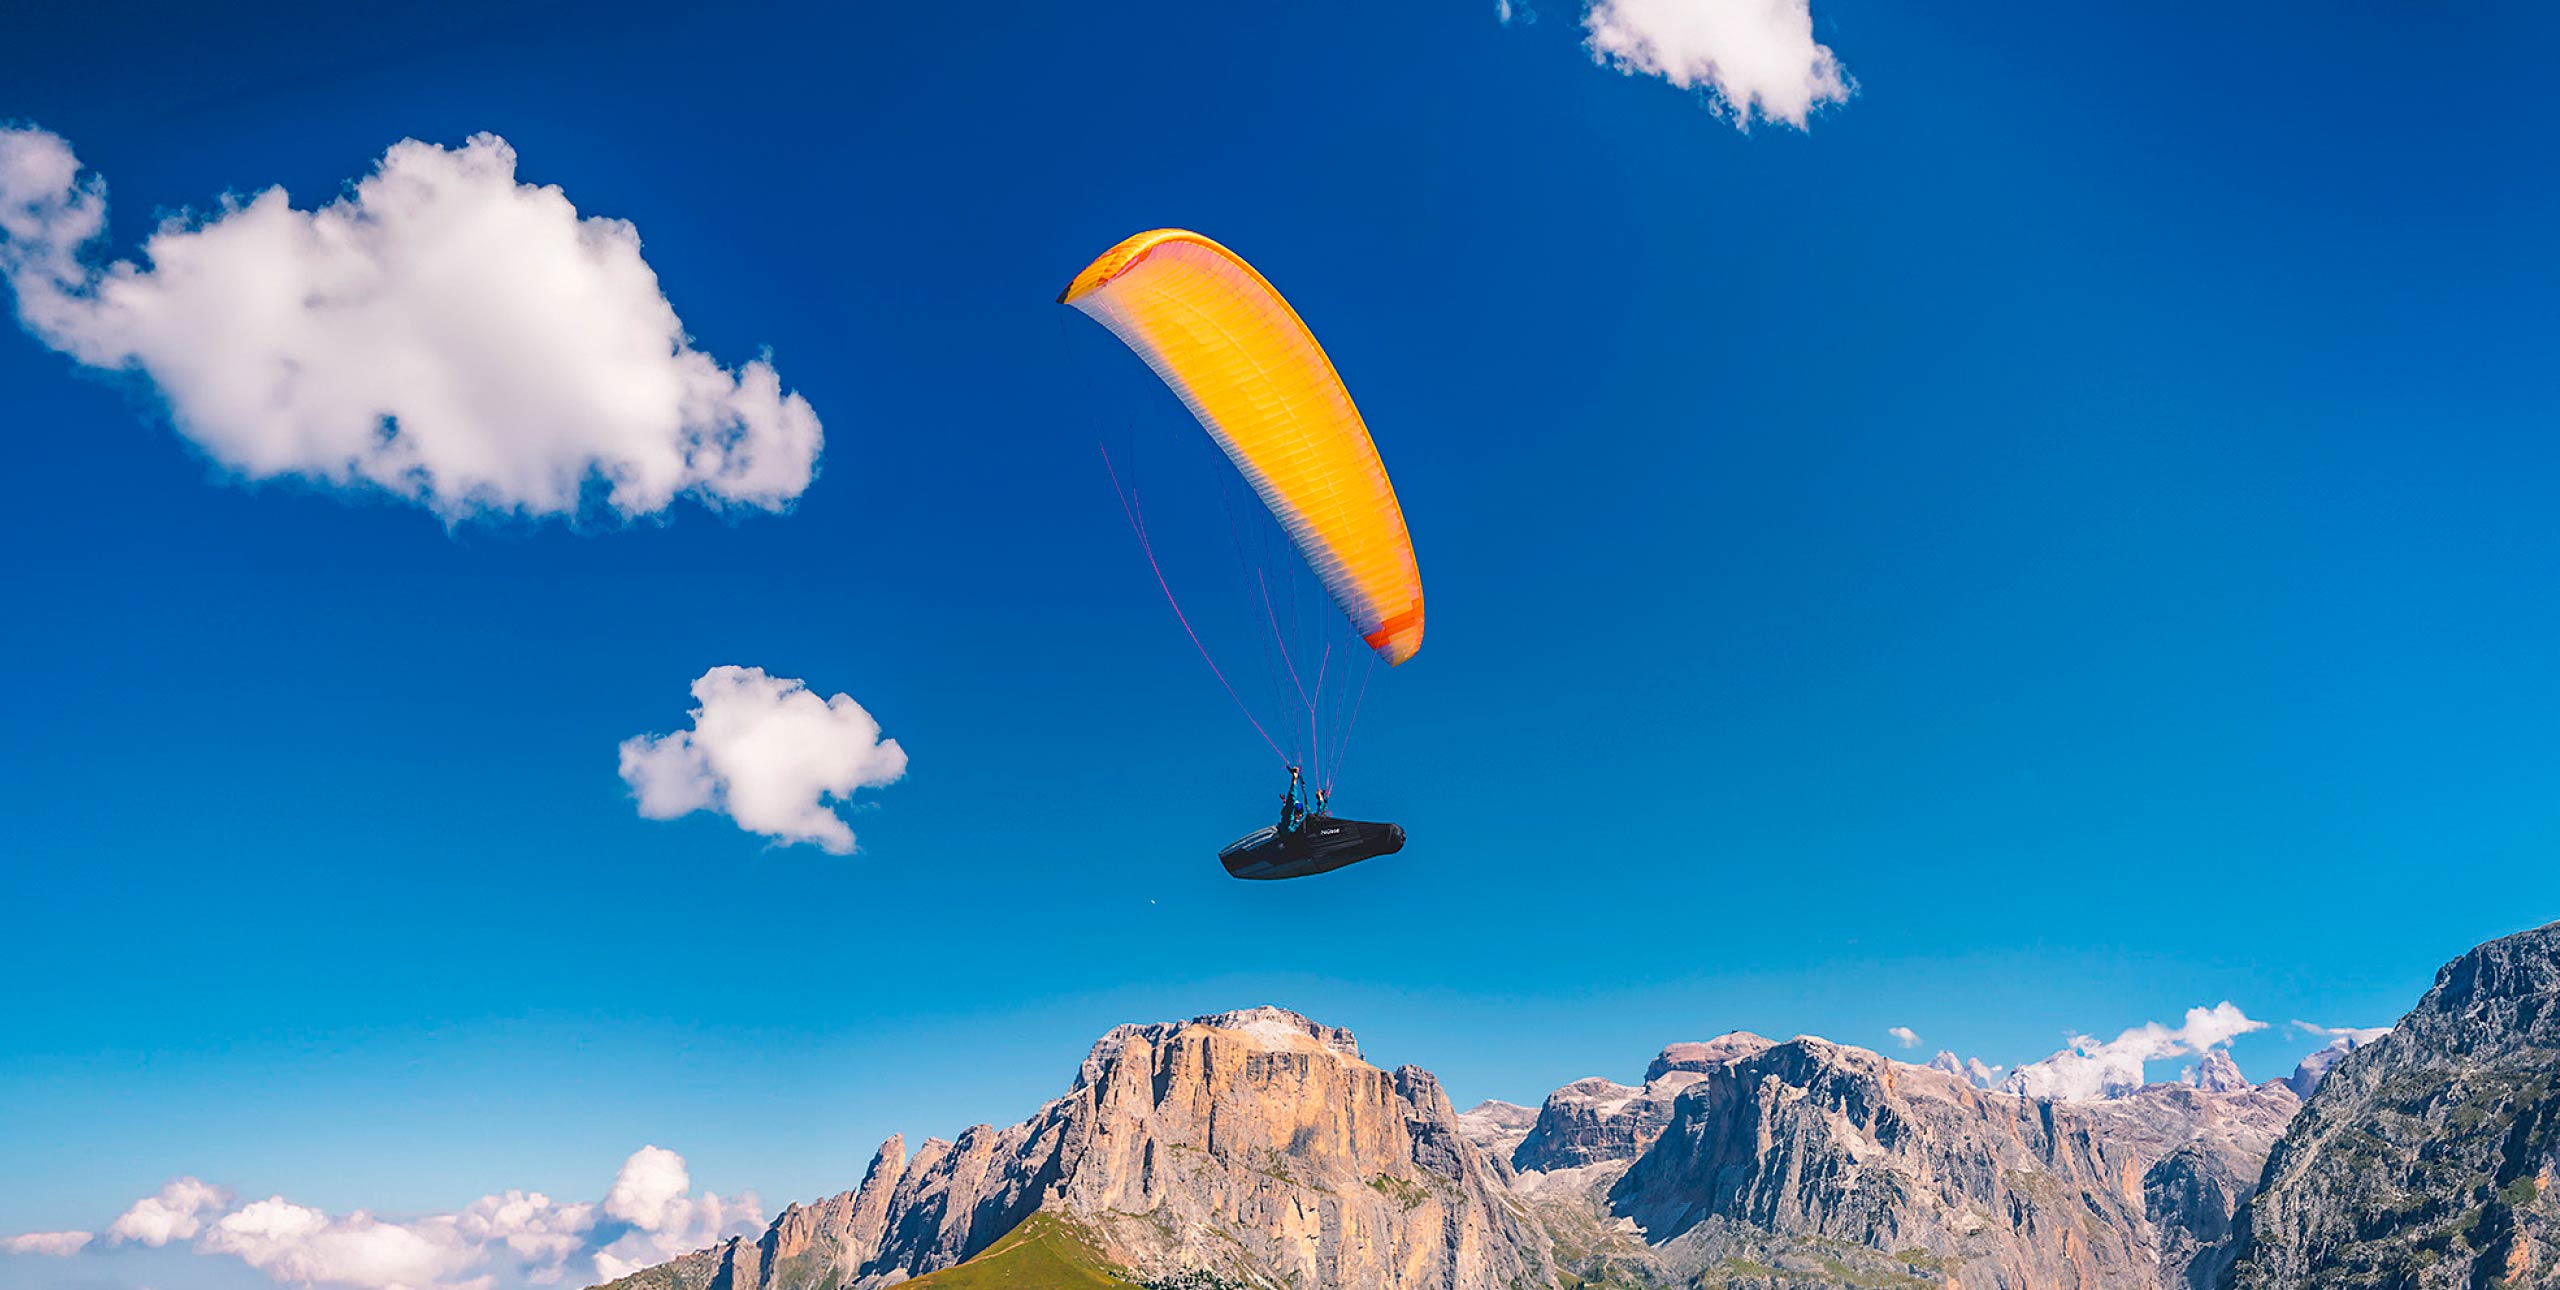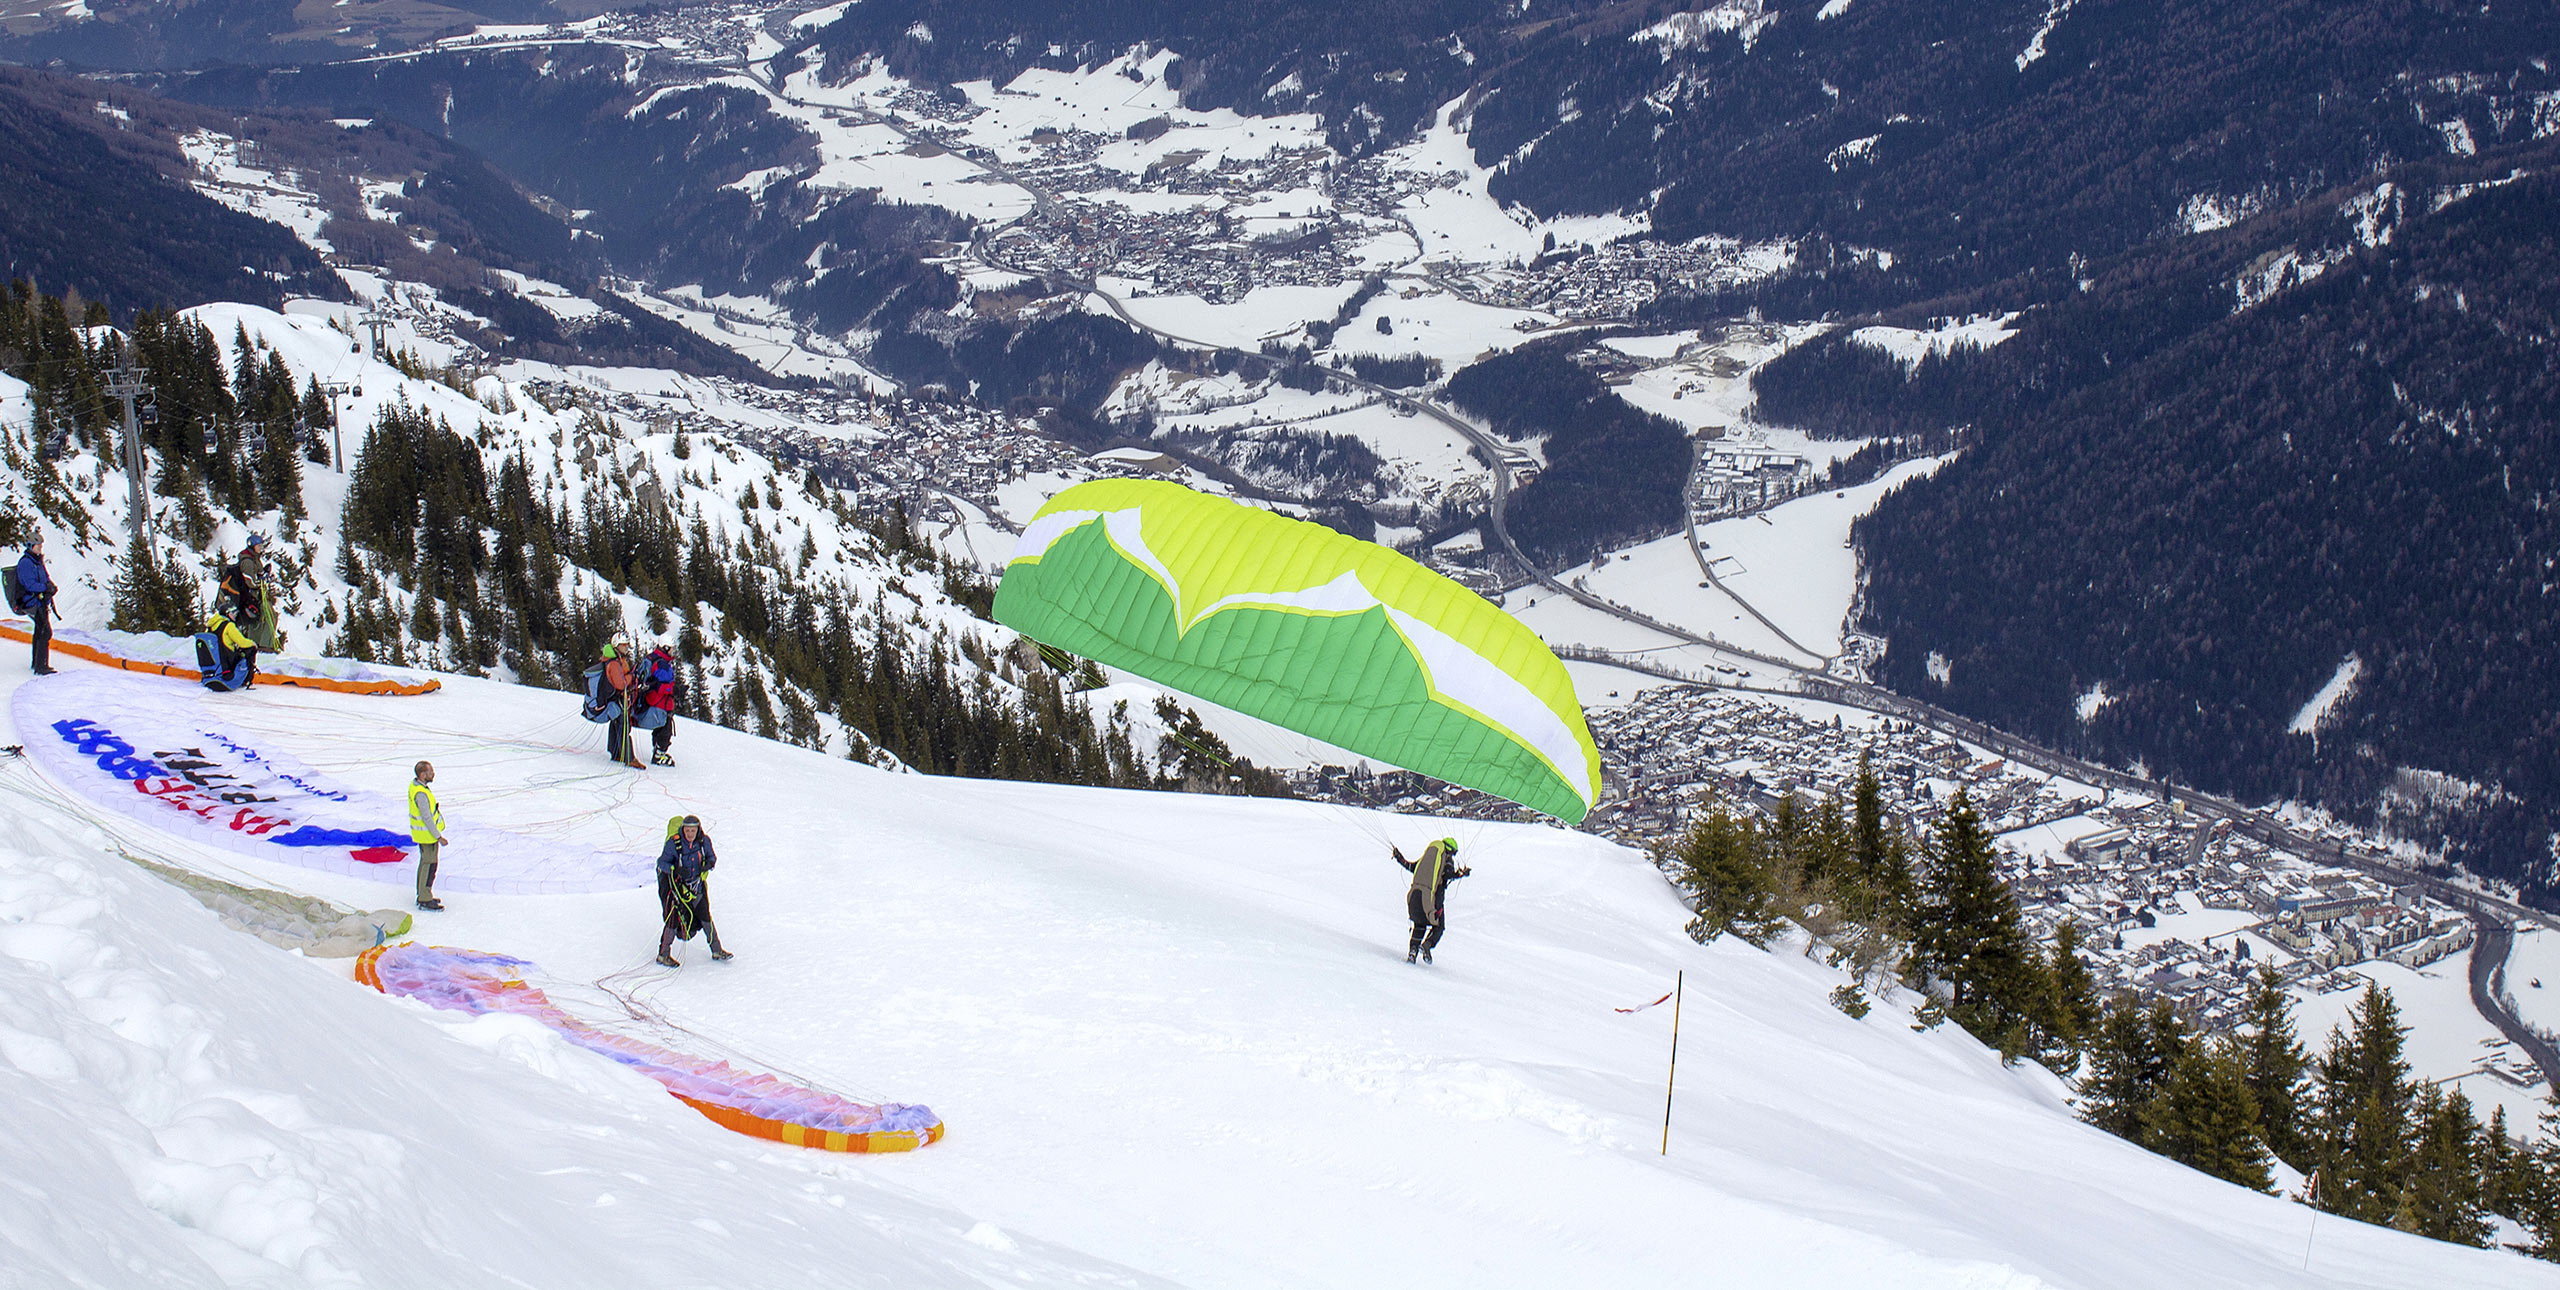
Nailing your launches
There are two main ways to launch a paraglider: forward or reverse
26 November, 2025, by Kelly Farina | Photos: Marcus KingThere are two main ways to launch a paraglider: forward or reverse. First we’ll discuss the simplest and original method, the forward launch. Used on nil- or light-wind days it is also commonly known as the alpine launch.
Once started, an alpine launch should be a set of fluid sections, with a controlled flow from one to the next until the decision is made to commit fully. Pull up, control, look, commit. A front stall (front collapse or tuck) at the last stage can be either comedy gold or devastating, depending on the terrain.
Forward launches, done because of the lightness of the forward breeze or a complete lack of it, can be daunting to pilots who don’t practise. Here are some of the main reasons that lead to the launch going wrong.
• Not checking properly that lines are free, or even clipping in wrongly.
• Charging downhill from the trailing edge with the lines totally slack – anything can happen.
• Too much impulse at the beginning that goes unchecked and leads to a front stall.
• Not standing in the centre of the wing, leading to an uneven pull-up.
• Dropping the hands leading to closure of the leading edge – the glider will not fly.
• Bending at the waist and closing the leading edge, again preventing the glider from flying.
• Not looking at the wing to check for knots in the lines, so taking off with a problem.
• Sitting down too early and jumping back, with the glider not flying. As the wing tries to fly the pilot will scrape the ground – not so funny over harsh terrain.
Tips to make it perfect
There are many different techniques taught in schools around the world, so let’s break it down into concepts.
We want to bring the glider up, check that the profile is clean, control any tendency to overshoot or roll, and of course have the option to abort at any time before committing completely.
To do that we need sensitivity and a good technique. It’s not about brute force.
• Glider layout is crucial. Pull the glider into a smooth arc on the ground and tension the leading edge slightly. This ensures that the tips don’t inflate first, and gives a smooth and natural centre-to-tips inflation.
• The pilot must be in the centre of the wing with equal pressure on left and right A-risers. This will help pull the glider forward through the air evenly. We want to avoid a strong pull on either side. This will prevent unwanted yaw followed by potential roll.
• If the pilot is centred, he or she won’t need to move under the low side of the wing during the pull-up phase, as there won’t be a low side. He can concentrate on moving forward smoothly and safely.
• During the pull-up, the pilot’s hands should be slightly above shoulder height in front of the face, equidistant from the nose, with a little tension between the risers and the karabiners. This will prevent the hands dropping and closing the leading edge.
• Think about your hand position for reverse launching – it’s the same position, but facing the opposite way.
• The back should be straight and hips driving forward. Try not to bend at the waist as this will close the leading edge, making it slower to get off the ground.
• The forward impulse should be smooth with very little slack in the lines. Standing at the trailing edge and running full speed is not the game. The start phase should be slow and controlled, with a gradual acceleration.
• Once the glider is overhead, connect to the trailing edge by applying the amount of brakes you need. Don’t choke it, let it fly!
• From your upright position it should be very easy to look up to make sure everything is fine. A quick glance is usually enough. With experience, pilots will feel an unfamiliar pull if the lines are not clean on the pull-up, but a visual check is still a good idea.
• Only when you’re totally happy that the wing is level, straight, open, flying and knot-free should you lower your shoulders and start a strong run.
Hacking off the hill with an imminent front stall on a steep launch is very bad for your health, as is trying to fix something that was wonky from the beginning.
It’s better to be slow, controlled and ready to stop at any moment until you’re committed. It can mean the difference between a great flight and a frustrating – wow that was too close! – short hop.
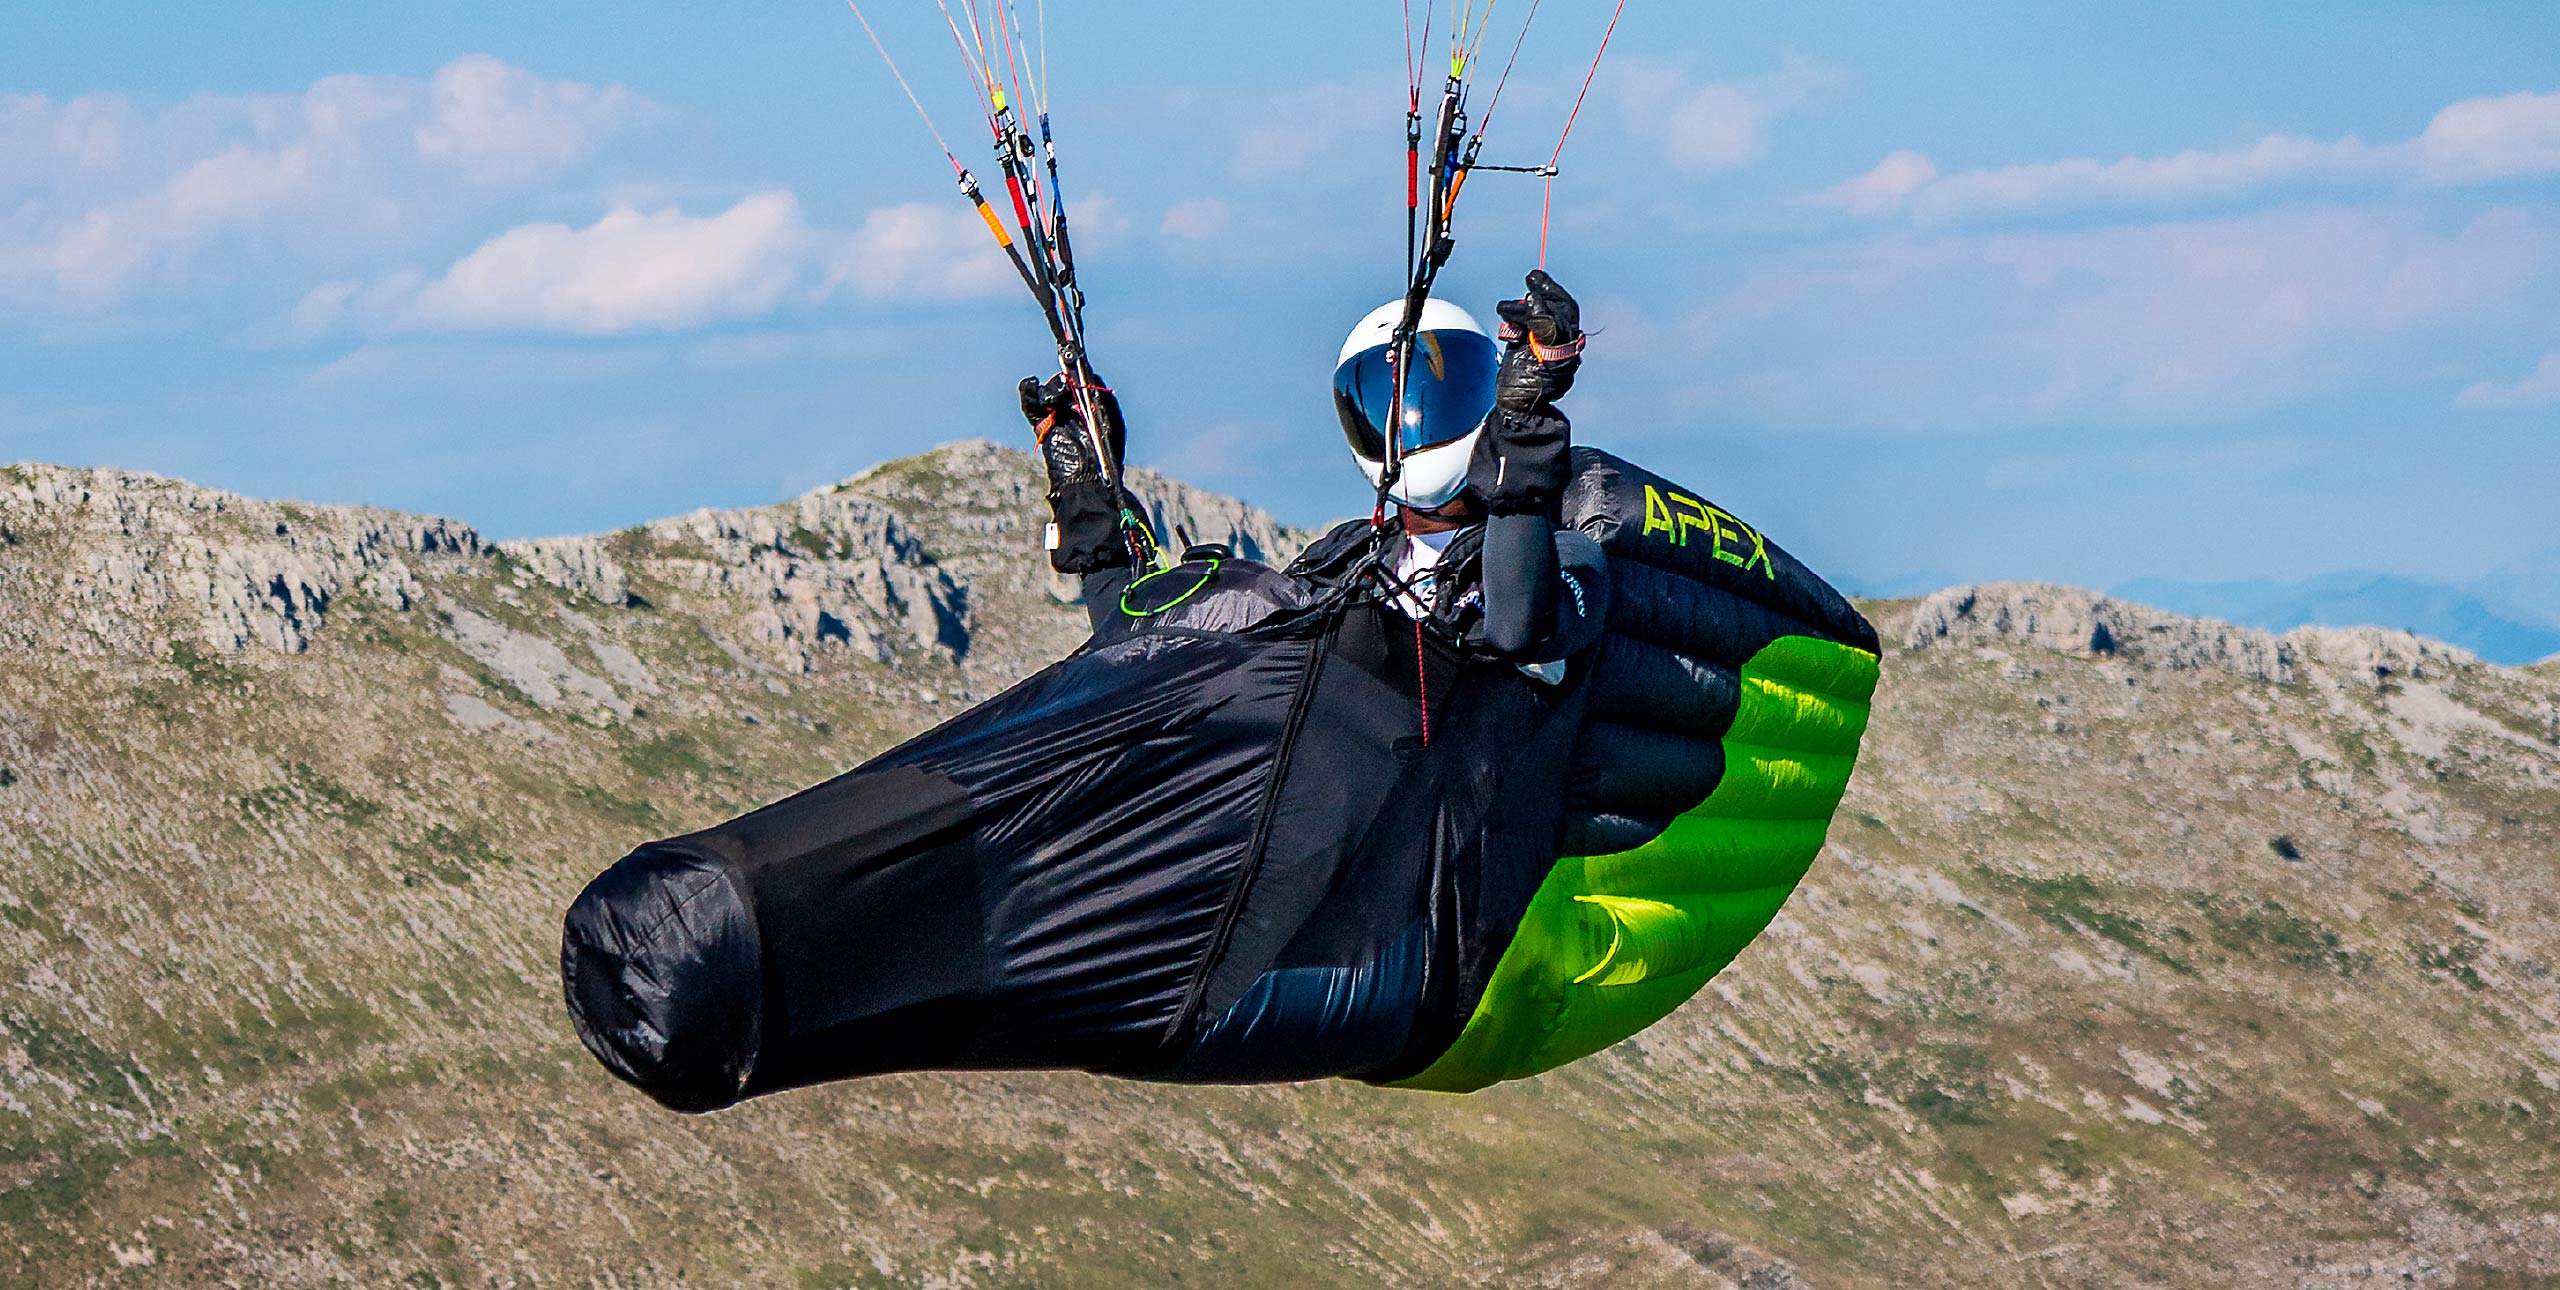
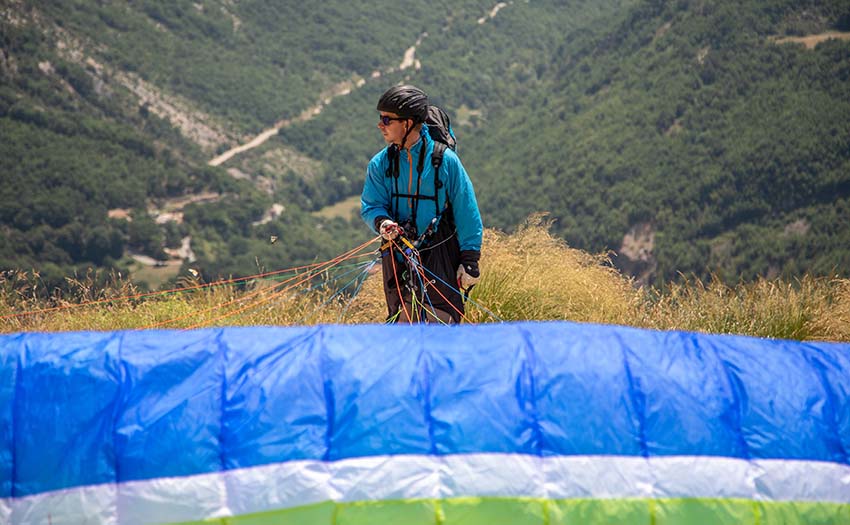
The reverse launch

Despite what pilots are sometimes told, there is no standard international method for teaching reverse launches. Different nationalities adopt different methods. Some don’t teach it at all.
What is important is that you practise the technique you know until you master it. If you don’t do that, then you will never master control of your wing on the ground. If you do practice, you will be able to take-off from a tricky launch without being overwhelmed.
Don’t just leave your reverse-launch practice until the moment you need to actually take-off. Ground handle the glider in a calm, safe place. If you are stressed about ground-handling then you will be really stressed about reverse-launching. That’s when incidents can happen.
Whatever technique you use, there are some common mistakes to avoid when reverse launching.
The first very common mistake made when reverse launching is overshooting from an overzealous pull. The wing usually front-stalls onto the pilot’s head. This normally happens if the pilot is too static; sometimes he or she is even lifted off the ground if they apply the brakes heavily. In lighter conditions it happens purely because of unchecked forward pitch – the glider flies past the pilot who is static on the ground.
Another mistake is constantly whacking the wing back on to the ground through being heavy-handed. This usually comes from too much brake or not enough roll control, moving left or right to remain underneath the wing. Up, down, up, down… It’s very hard on our equipment in the long run.
The last is what is called ‘the hack’ – when a pilot just goes for it without much in the way of control, hoping that the glider’s passive safety will carry him or her off the hill safely. There’s little to no longevity in this method. If it succeeds, it’s followed by a lot of swinging around, and sighs of relief from any spectators.
All methods out there can lead, with practice, to a stress-free launch. The key though is practice. In time and with effort – often put in away from launch – the reverse launch can and will become second nature.
This is an edited excerpt from the paragliding techniques book Mastering Paragliding by Kelly Farina